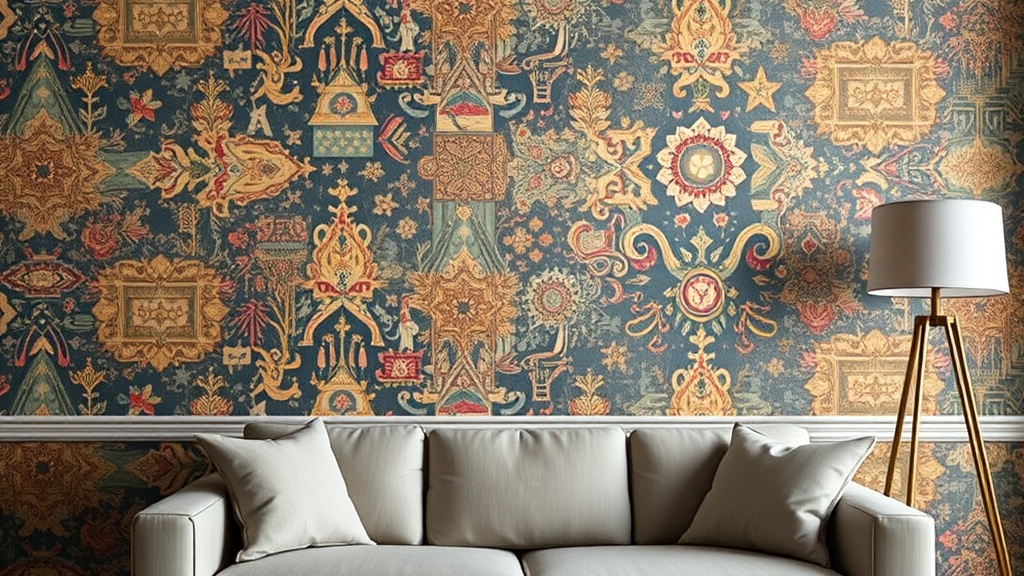
Use Peel and Stick Wallpaper for a Quick Accent Wall

Quick Tip
Always clean your walls with a damp cloth and let them dry completely before applying to ensure the adhesive sticks properly.
The Fast Track to a Focal Point
You are staring at a blank, beige wall in your home office or a narrow entryway, and the room feels unfinished. Traditional wallpaper requires messy paste, professional installation, and a permanent commitment that can be a nightmare for renters. Peel and stick wallpaper offers a high-impact solution that allows you to introduce texture, pattern, or a bold geometric print without the structural permanence of traditional wallcoverings. This method is ideal for creating an accent wall that defines a space or adds depth to a small room.
Preparation and Surface Integrity
Before you unroll a single sheet, you must treat the wall with the same precision I used when drafting site plans. Peel and stick adhesive relies heavily on a clean, smooth substrate. If your wall has a heavy orange peel or knockdown texture, the adhesive will struggle to bond, and you will see air bubbles. For a professional finish, use a smooth drywall surface.
- Clean the Wall: Use a damp microfiber cloth with a mild solution of water and a drop of dish soap to remove dust and oils. Let it dry completely.
- Check for Imperfections: Run your hand over the wall. Any bumps or stray bits of paint will telegraph through the vinyl. Use a fine-grit sandpaper to smooth out minor imperfections if necessary.
- Measure Twice: Do not guess your dimensions. Measure the width and height of the target area, then add a 2-inch margin to your measurements to allow for trimming at the ceiling and baseboard.
Installation Technique
The biggest mistake DIYers make is trying to stick the entire sheet up at once. This leads to crooked lines and trapped air. Instead, work in sections to maintain control over your alignment.
- Establish a Plumb Line: Do not trust your ceiling or baseboards to be perfectly level. Use a bubble level or a laser level to draw a vertical line from the ceiling to the floor. This is your guide for the first strip.
- The Top-Down Method: Peel back only about 6 to 12 inches of the backing paper at the top. Align the edge of the paper with your plumb line and press it against the ceiling.
- Smooth as You Go: As you pull the backing paper downward with one hand, use a plastic smoothing tool or a squeegee with the other. Work from the center of the strip outward toward the edges to push out air bubbles.
- Precision Trimming: Once a strip is fully applied, use a sharp X-Acto knife or a heavy-duty utility knife to trim the excess at the ceiling and baseboard. Always cut against a metal straightedge for a crisp line.
If you are using this to brighten up a dim area, consider a light-colored pattern or a metallic finish to bounce light around the room. This technique works exceptionally well when you want to brighten a dark hallway without renovation. Once your accent wall is complete, you can further layer the look by adding a DIY gallery wall to break up the pattern and add dimension.