Create a Functional Coffee Station in Your Kitchen

A heavy ceramic mug meets a granite countertop with a dull thud, steam rising from a fresh pour of dark roast. This is the daily ritual of the morning, but for many, it is a cluttered one. A tangled power cord from an espresso machine snakes across the backsplash, a stray spoon sits in a puddle of condensation, and a bag of coffee beans remains half-open on the edge of the counter. A dedicated coffee station transforms this chaotic corner into a streamlined, intentional zone. This guide provides the structural and design framework to build a functional coffee station that maximizes your kitchen’s footprint while maintaining high-end aesthetic standards.
Assess Your Spatial Footprint
Before purchasing a single canister or shelf, you must perform a site survey of your kitchen. A coffee station is not just a collection of items; it is a workstation that requires specific clearances and power access. You are looking for a "zone" rather than just a "spot."
Measure the available depth and width of your intended area. If you are utilizing a corner of your countertop, ensure you have at least 18 inches of clearance in front of the machine to allow for easy lid removal and refilling. If you are repurposing a small sideboard or a kitchen island end, check the weight capacity. High-end espresso machines, such as a Breville Barista Express, are heavy and can exert significant downward pressure on standard particle board furniture. If you are using a repurposed piece, I recommend reinforcing the top with a piece of 3/4-inch plywood or a stone remnant to prevent bowing over time.
Identify your power sources. A coffee station is an electrical hub. You will likely have a coffee maker, a milk frother, a grinder, and perhaps a small electric kettle. Count your plugs. If you only have one outlet, you will need a high-quality, surge-protected power strip. I suggest mounting the power strip to the underside of a shelf or the back of your cabinet to keep the visual lines clean and prevent "cord creep" across your workspace.
The Three Pillars of Coffee Station Ergonomics
To design a station that actually works, you must organize by workflow. In architecture, we call this "the way of the user." In your kitchen, the workflow follows a logical sequence: Prep, Brew, and Clean.
1. The Prep Zone
This is where your raw materials live. You need accessible storage for coffee beans, pods, tea bags, syrups, and sweeteners. Instead of keeping these in mismatched grocery store packaging, use uniform glass or ceramic vessels.
- Dry Goods: Use airtight glass jars with bamboo or stainless steel lids to keep beans fresh.
- Syrups: Store syrups in uniform glass bottles with branded-style pump dispensers. This prevents the sticky residue often found with plastic squeeze bottles.
- Flavor Profiles: Use a small, tiered acrylic or wooden tray to group your sweeteners and syrups together, creating a defined "sub-zone."
2. The Brew Zone
This is the high-activity area. It must be kept clear of clutter to allow for the physical movement of the machine.
- Clearance: Ensure there is enough vertical space above the machine for you to add water or beans without hitting a shelf.
- Heat Management: If you use a kettle or a machine that produces significant steam, avoid placing it directly under a low-hanging wooden shelf, which can warp or discolor over time.
- Water Access: If your station is far from the sink, keep a dedicated carafe or a stylish water pitcher nearby to minimize trips across the kitchen.
3. The Clean and Consumables Zone
A coffee station is incomplete without the vessels used to drink the coffee.
- Mug Storage: Rather than stacking mugs in a messy pile, use a vertical approach. A mug tree or a dedicated shelf keeps them organized.
- Waste Management: A small, aesthetically pleasing bin for used coffee grounds or pods is essential. A tiny stainless steel bin can sit discreetly tucked behind the machine.
- Linens: Keep a clean, high-quality microfiber cloth or a linen napkin nearby to wipe up spills immediately, preventing hard water stains on your countertop.
Vertical Expansion and Structural Design
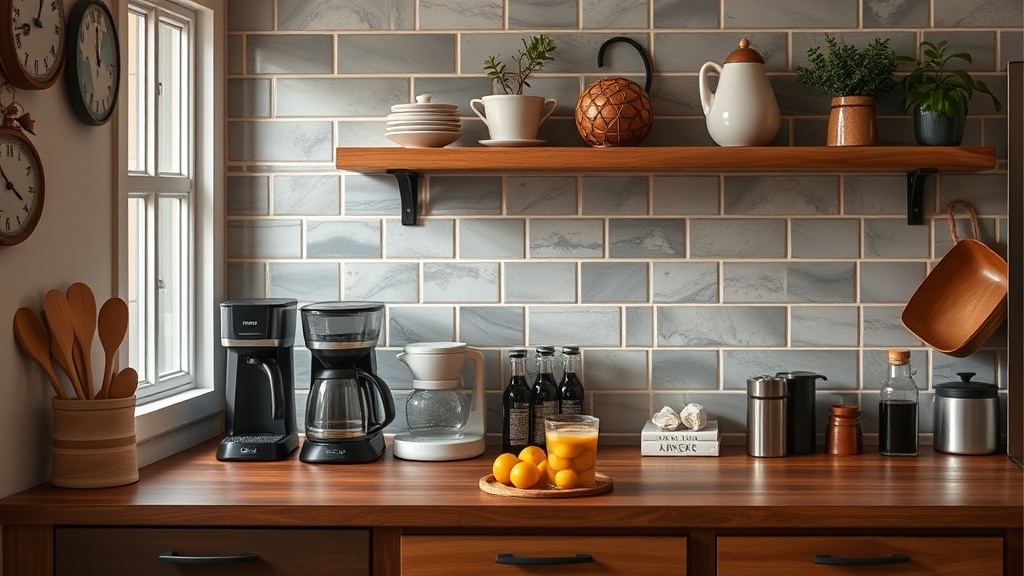
Most kitchen counters suffer from a lack of vertical real estate. To make your coffee station feel like a built-in feature rather than an afterthought, you must look upward. Utilizing the wall space is the most effective way to increase capacity without sacrificing precious workspace.
Floating shelves are the gold standard for this. They provide a clean, modern look that avoids the "heavy" feeling of a bulky cabinet. When installing, use a level and a stud finder to ensure the shelves can handle the weight of ceramic mugs and heavy glass jars. If you are working with a backsplash, ensure your drill bits are appropriate for the material—use a diamond-tipped bit for tile to avoid cracking.
If you want to create a more integrated look, consider building a custom shelving unit that matches your kitchen's cabinetry. If your cabinets are looking a bit dated, you can revive your tired kitchen cabinets with a professional-grade paint job to make the new coffee station feel like a cohesive part of the original design.
For those with limited counter space, a pegboard system can be a highly functional and industrial-chic solution. A small metal or wooden pegboard mounted to the wall allows you to hang milk frothers, scoops, and even small baskets for tea bags. This keeps your tools within arm' reach but off the countertop.
Material Selection and Aesthetic Cohesion
A successful design is a balance of texture and utility. You want the station to look intentional, not cluttered. This is achieved through a disciplined color palette and consistent materials.
Texture and Layers: To prevent the station from looking "flat," introduce different textures. A marble tray can act as a base for your syrups, while a wooden cutting board can serve as a heat-resistant mat for your coffee maker. This layering adds depth and a professional designer touch. If you are using a small sideboard as your station, you can swap your hardware for an instant cabinet refresh to tie the piece into your kitchen's existing aesthetic.
Color Palette: Choose a primary material and stick to it. If you love the modern industrial look, lean into matte black metal, dark wood, and glass. If you prefer a farmhouse or organic aesthetic, use white ceramic, light oak, and woven textures. Avoid mixing too many different styles; a coffee station should feel like a curated collection, not a random assortment of kitchen gadgets.
The Maintenance Protocol
A functional station requires a maintenance plan. Because coffee involves water, heat, and organic matter (coffee grounds), it is a high-maintenance zone.
- Daily Wipe-down: At the end of each day, use a damp cloth to wipe the area around the machine. This prevents coffee oils from building up and creating a sticky film.
- Weekly Organization: Once a week, check your canisters. Ensure lids are tight and that no sugar or coffee grounds have spilled into the trays.
- Monthly Deep Clean: Descale your coffee machine and clean your glass jars. A clean station is a functional station.
By applying these architectural principles—measuring for clearance, designing for workflow, and utilizing vertical space—you can move beyond a simple "coffee corner" and create a high-performance coffee station. This is about more than just aesthetics; it is about creating a ritualistic space that is as efficient as it is beautiful.