Why Your Paint Job Looks Cheap and How to Fix It

Most people think a bad paint job is caused by a shaky hand or a low-quality can of pigment. They're wrong. The truth is, paint is a technical application of chemistry and physics, not just a decorative layer. If your walls look streaky, your edges look jagged, or the color looks uneven, the problem isn't the paint—it's the preparation and the physics of the surface. A professional finish isn't about the brush; it's about the substrate and the tension of the liquid.
In this guide, we're looking at the structural side of finishing. We'll cover how to prepare a surface so it behaves like a single, continuous plane rather than a collection of bumps and holes. Whether you're dealing with a drywall patch or a piece of old wood, the goal is a surface that is chemically ready to accept the coating. If you skip the math of sanding and the grit of cleaning, you're just painting over problems.
Is your wall surface actually ready for paint?
Before a single drop of color touches a wall, you have to understand the surface profile. In architecture, we look at the "tooth" of a material. If your wall is too smooth, the paint won't grab; if it's too textured, the light will catch every imperfection. Most DIYers skip the most boring part: the cleaning and the sanding. A wall covered in microscopic dust is a wall destined for peeling.
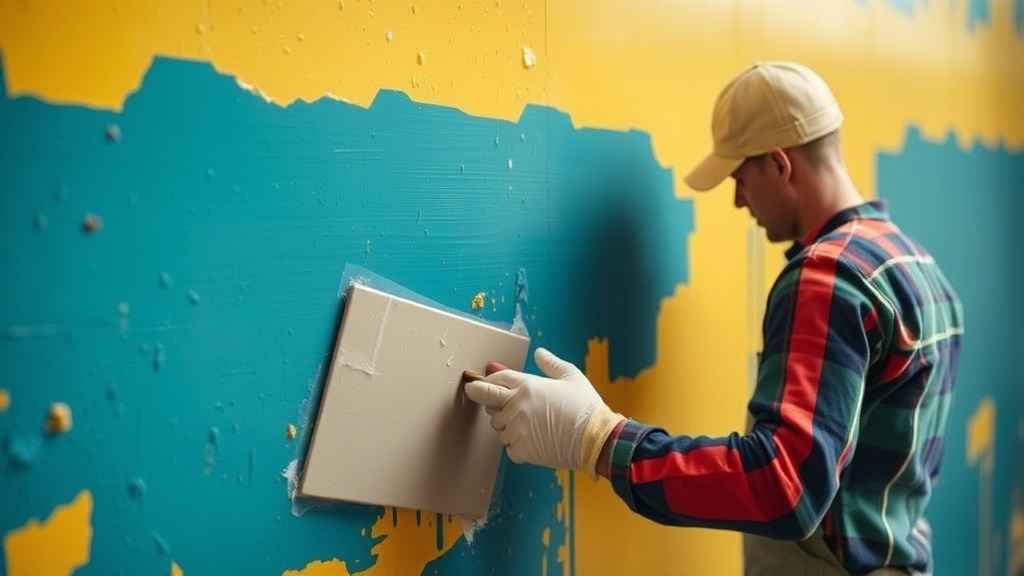
To get a professional-grade result, you need to treat the wall like a construction site, not a canvas. Use a high-quality painter's tape—look for the green or blue variety that handles tension well—and ensure your edges are sharp. If you're painting over a repair, that patch must be sanded until it is perfectly flush with the surrounding plane. If you can feel a bump with your fingertip, a coat of paint will only highlight it. Use a bright light, like a work lamp, held at an angle against the wall to find those hidden dips. This is called grazing light, and it's how pros see what the naked eye misses.
Why does my paint look streaky or uneven?
Streaks happen because of two things: inconsistent application and improper viscosity. If you're using a cheap roller, the nap (the length of the fibers) might be too short, or the quality of the fiber is so low it's shedding bits of fluff into your wet paint. This creates a texture that looks messy and unprofessional.
- The Load: Don't overload the roller. If you're pushing too much weight, the paint drips. If you're pushing too little, you get "dry rolling" which leaves a sandpaper-like texture.
- The Speed: You need to work in sections. Don't try to paint an entire wall and then go back to fix a spot. You'll get lap marks—those ugly lines where two wet sections meet.
- The Physics: Always work from the top down and maintain a consistent "wet edge." This means you're always painting a fresh layer into the edge of the previous one.
If you're working with wood, the absorption rates vary wildly. A piece of pine will drink up paint much faster than a piece of maple. This is why a primer isn't optional; it's a sealant that creates a uniform-density surface. Check out the technical specs on different paint types to understand how they bond to different materials.
Can I fix a bad paint job without starting over?
If you've already finished a room and it looks subpar, don't panic. You don't always have to strip it back to the studs. Often, the issue is just a lack of depth. A single coat of paint is rarely enough to hide the old color or the texture of the wall. Adding a second or even third coat can build up the film thickness and create that smooth, satin-like finish you see in high-end interiors.
If the finish is truly bad—meaning it's actually peeling or bubbling—you have a structural issue. Bubbles are usually caused by moisture trapped behind the paint or by applying paint to a surface that wasn't fully dry. If you see bubbles, you must scrape them out, sand the area smooth, and re-prime. You cannot paint over a bubble and expect it to disappear; that's just adding more weight to a failing surface. For more on material science and why coatings fail, the ASTM International standards offer deep dives into how coatings interact with substrates.
When you're working with different tools, remember that the tool is an extension of your intent. A cheap brush will splay, and a splayed brush creates a messy line. Invest in a high-quality synthetic brush for latex paint and a natural bristle brush for oil-based paints. The way the bristles hold the liquid determines the precision of your edge. If you can't control the tool, you can't control the room. Stop treating paint as an afterthought and start treating it as a technical layer of your design.