
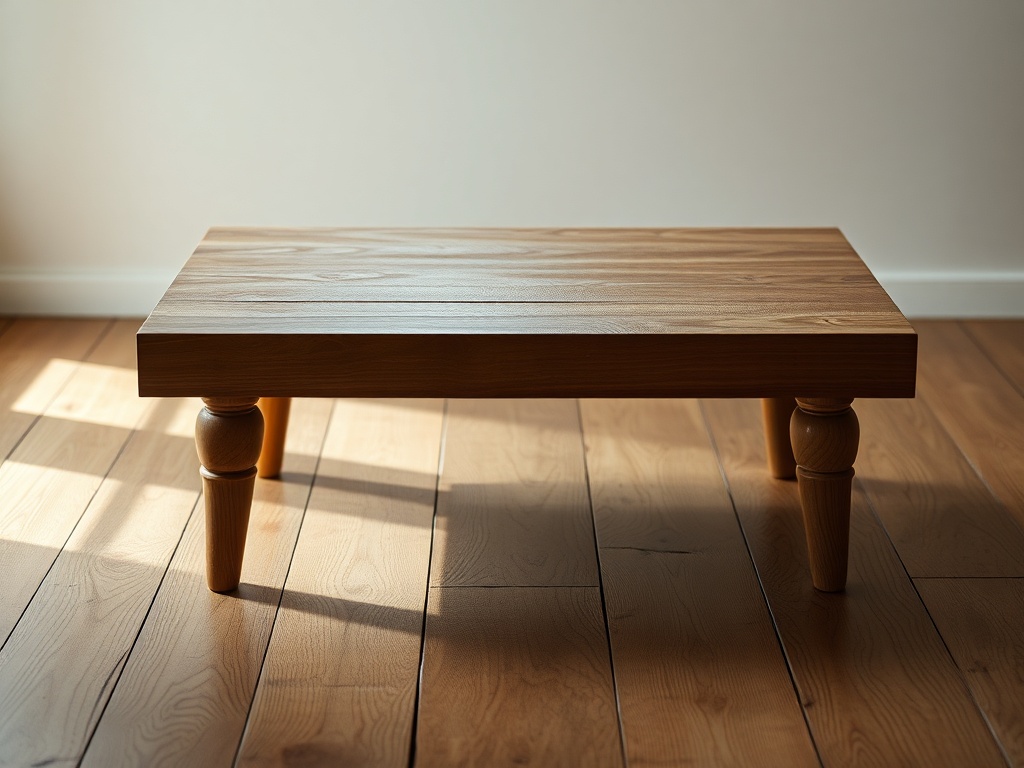
The Structural Guide to Fixing a Wobbly Coffee Table (Without Lying to Yourself)

Listen, if your coffee table wobbles, it’s not “quirky.” It’s a structural failure. And no, sliding a folded receipt under one leg is not a solution—it’s denial with paper backing.
We’re going to fix it properly. Not pretty-first, not fast-first—structure-first. Because once the bones are right, the aesthetics follow. That’s the Design Math.
The Design Math: Why Tables Actually Wobble
A table doesn’t wobble randomly. It’s almost always one of three failures:
- Plane mismatch: The four legs aren’t on the same geometric plane.
- Joint failure: One or more joints have loosened (usually cheap fasteners into particle board).
- Material fatigue: Warping from humidity or bad lumber choices.
Most “fixes” ignore this and go straight to cosmetic band-aids. We’re not doing that. We’re diagnosing first.
Step 1: Diagnose Before You Touch a Tool
Flip the table upside down. Yes, commit. You’re looking for:
- Loose screws or brackets
- Cracked joinery
- Uneven leg lengths
Press diagonally on opposite corners. If it rocks, you’ve got a plane issue. If one leg visibly shifts, it’s a joint issue.
(And if the entire thing flexes like a noodle, congratulations—you bought fast furniture. We can still reinforce it, but expectations matter.)
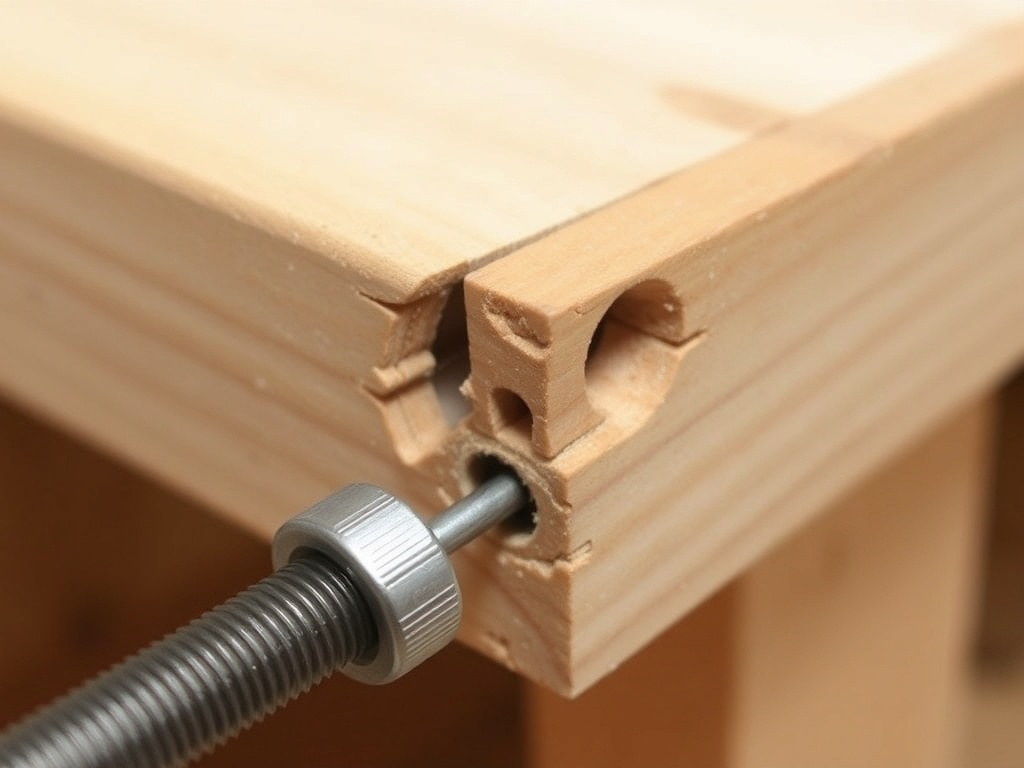
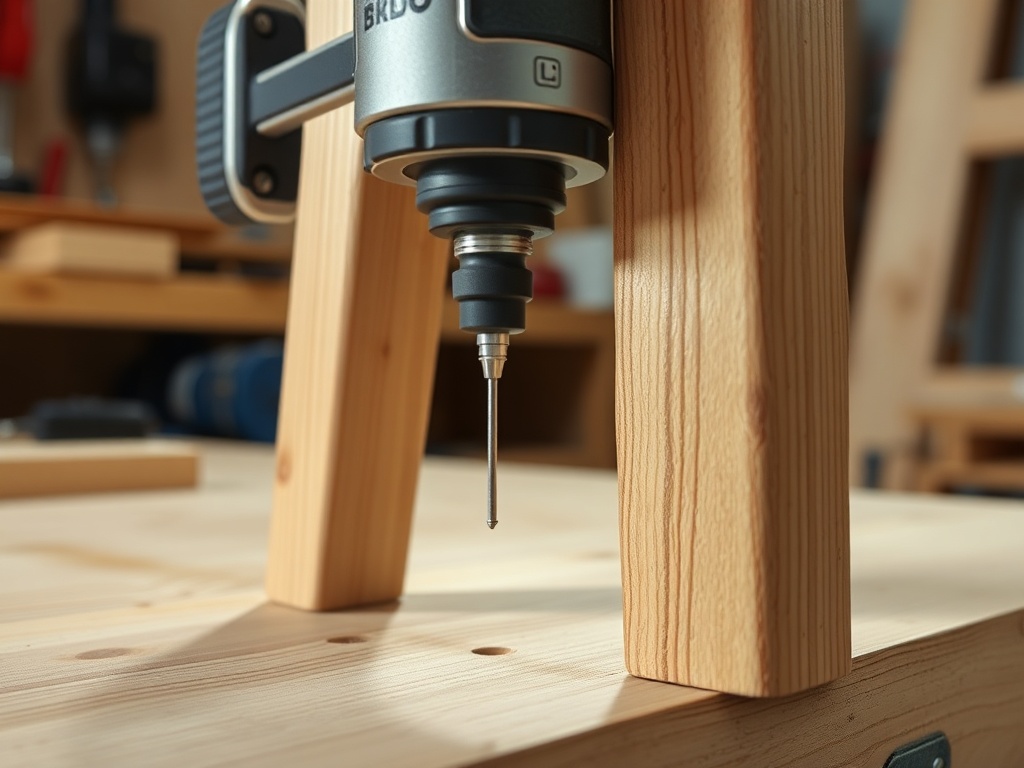
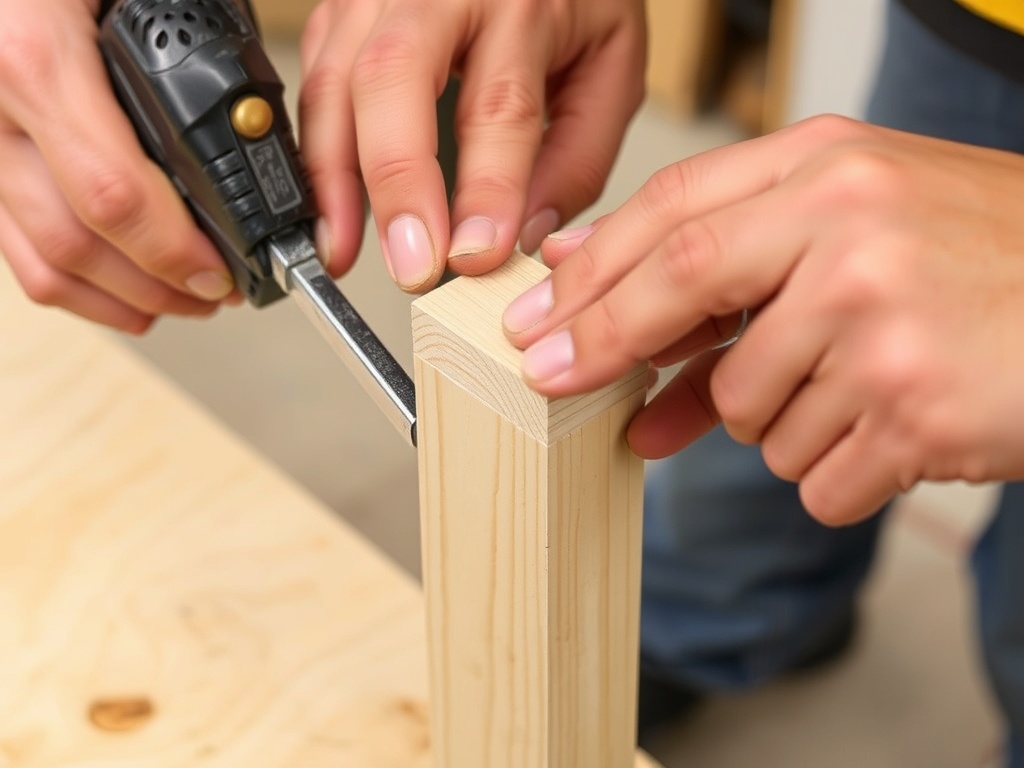
Step 2: Fix the Joints First (Always)
If the joints are loose, nothing else matters. Tighten or rebuild them.
- Remove existing screws
- Inject wood glue into the joint
- Re-drive screws into fresh pilot holes
If the original holes are stripped (they usually are), shift your screw position by at least 1/2" and pre-drill. You’re creating new structural grip, not pretending the old one still works.
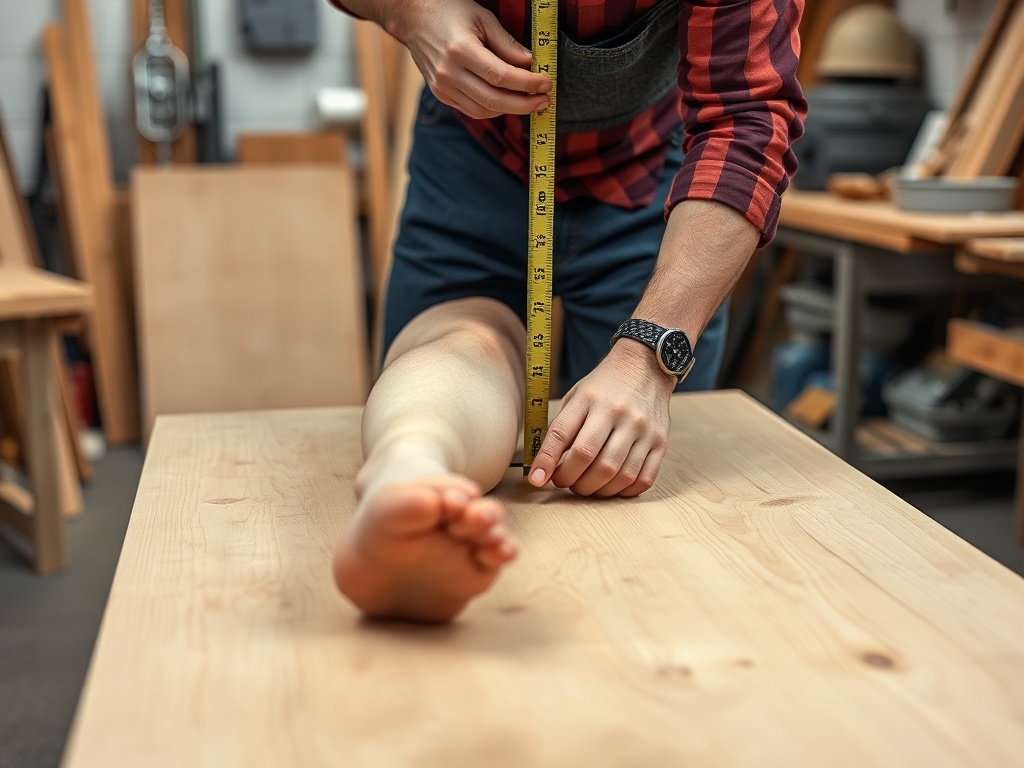
Step 3: Correct the Plane (The Real Fix)
This is where most people quit. Don’t.
Set the table on a flat surface and identify the short leg. You can do this with a feeler gauge, a shim, or—let’s be honest—stacked business cards.
You now have two options:
Option A: Trim the Long Legs
This is the architectural approach. Measure the difference and cut down the longer legs using a pull saw or miter saw.
It’s permanent. It’s correct. It requires precision.
Option B: Build Up the Short Leg
This is the practical approach. Add a hardwood shim to the short leg.
- Cut a shim from hardwood (white oak if you respect yourself)
- Glue and clamp it
- Sand flush once cured
The goal is invisible correction—not a visible stack of coasters under your table.
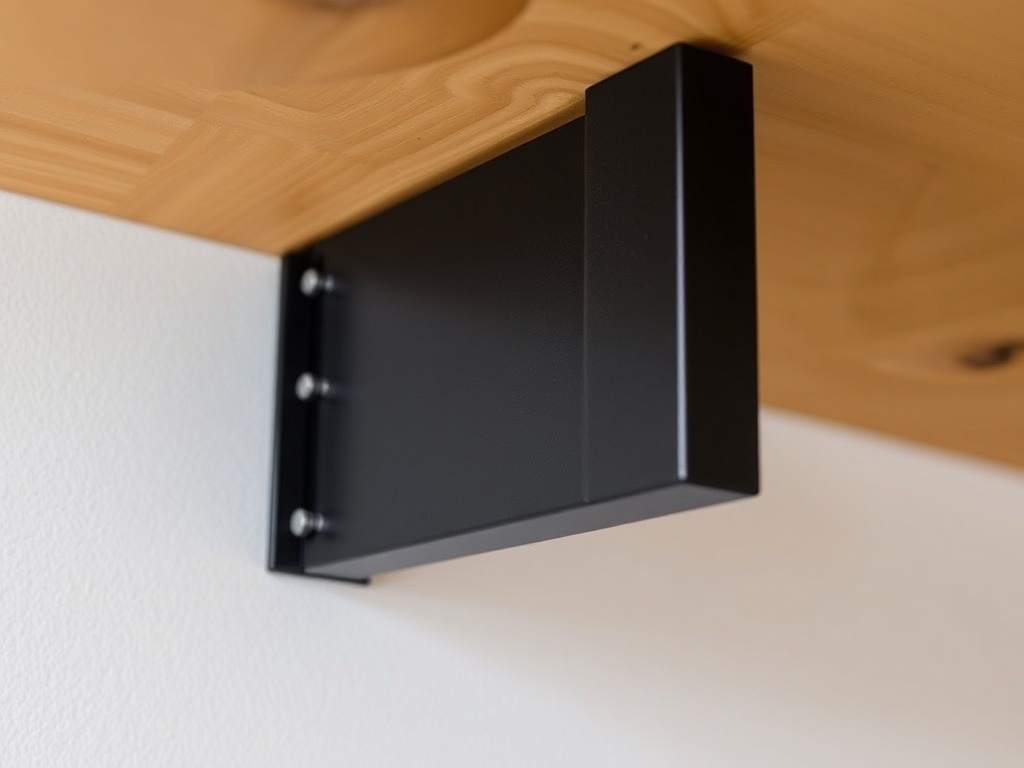
Step 4: Lock It In With Structural Reinforcement
If the table was cheap to begin with, you need to add rigidity.
- Install corner braces under the tabletop
- Add a stretcher bar between legs if possible
- Use wood glue at every joint interface
This turns a weak frame into a rigid system. You’re not just fixing—you’re upgrading.
Step 5: Finish Like You Meant It
If you added material or exposed raw wood, finish it properly.
- Sand to 180–220 grit
- Apply a real wood finish (oil or polyurethane)
- Install matte black feet if needed
No shortcuts. If the underside looks unfinished, the project isn’t done.
The Cost Ledger (Because We Don’t Lie Here)
- Wood glue: $6.50
- Screws: $4.00
- Sandpaper (you will waste some): $8.00
- Hardwood scrap for shim: $0–$12
- Corner brackets: $9.00
Total True Cost: ~$27.50–$39.50
(Compare that to replacing the table for $120 every two years. Do the math.)
Mistakes You’re Probably About to Make
- Ignoring loose joints and going straight to shims
- Using softwood scraps that compress over time
- Skipping pilot holes and splitting the leg
- Calling it “fixed” when it still rocks slightly
If it still moves, it’s not done. Period.
Final Check: The No-Excuses Test
Set the table down. Press on every corner.
If it doesn’t move, you’re done.
If it moves, you missed something.
That’s the standard.
We don’t build things that “mostly work.” We build things that hold up when someone leans their entire body weight on one corner while reaching for coffee.
Let’s get into the sawdust.