The Four Carpentry Skills That Solve Every Furniture Problem (And Why No One Teaches Women This)

Let's talk about what empowerment actually looks like when it's not a product.
Every March, I watch the same cycle: brands slap a woman's face on a drill bit set and call it progress. Pink-handled chisels. "Lady" tool kits at a meaningful premium, with worse steel. Marketing that frames shopping as agency, as if spending money at the hardware store is the same as knowing how to use what you bought.
I spent eight years as a junior architect. I designed things I was never allowed to build. I produced beautiful, technically precise drawings that handed off to contractors — mostly men — who understood the actual physics of a structure. When I burned out and built a van instead, I learned something I wish someone had taught me at 22: the skill is the power. Not the tool. Not the thing you make with it. The knowing.
The furniture industry's most profitable secret is that basic carpentry is not hard to learn. The gatekeeping is real, but so is the gap. So here are the four skills that will solve the vast majority of everything broken, ugly, or structurally compromised in your home — whether you bought it at Wayfair or pulled it off a curb.
Skill One: Wood Assessment (The 10-Minute Education You Never Got)
Before you can fix or build anything, you need to know what you're working with. This sounds obvious. It isn't. Most people can't tell solid wood from MDF from plywood — and that gap is expensive.
Here's a fast field guide:
Solid wood: Grain runs continuously through the piece. Edges show the same wood as faces. Heavy. Can be sanded, repaired, refinished indefinitely. The grain pattern on the end of a board is the tell: tight rings = dense and hard (oak, maple, walnut). Wider rings = softer (pine, poplar). Solid wood thrifted cheaply is worth more than Wayfair solid wood at a high price, because it's already been through its dimensional movement phase — the shrinking and expanding that happens when new wood adjusts to indoor humidity.
Plywood: Visible layers at the edge. Lighter than solid for the same dimensions. Takes screws well perpendicular to face, less well into edge. Grades matter — A/B is furniture-quality, C/D is structural and ugly. Furniture-grade Baltic birch plywood is genuinely excellent material. Don't sleep on thrifted plywood pieces.
MDF and particleboard: Heavy. No grain. Edges are powdery or factory-faced. Cannot be re-screwed into a stripped hole without inserts. Cannot tolerate moisture. Most flat-pack furniture from mass-market retailers is primarily particleboard — IKEA is fairly transparent about this in their product materials disclosures. Its lifespan is exactly as long as it stays dry and unmoved.
This single skill — material identification — is the difference between spending forty dollars on a rescue piece and spending forty dollars on kindling.
Skill Two: Joint Assessment and Repair
Every wobbly chair, every racking bookshelf, every door that doesn't hang right — it's a joinery problem. Once you can see joints, you can fix them.
The four joints you'll encounter in most furniture:
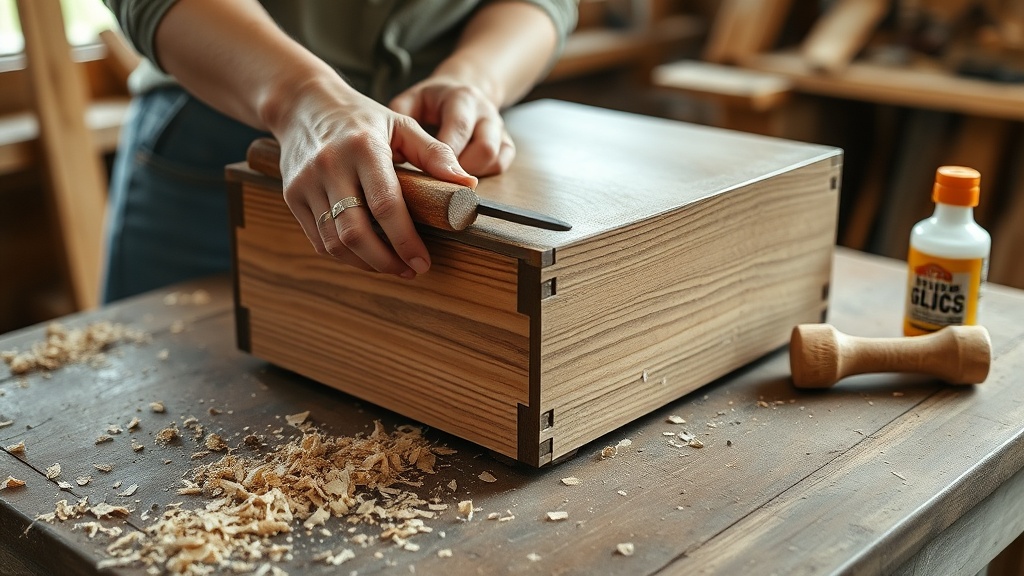
Mortise and tenon: The tenon (tongue) fits into the mortise (hole). Classic, strong, repairable. Typically loosened by hide glue failure over time. Fix: clean old glue with warm water and a chisel, re-glue with Titebond III, clamp for 24 hours. The glue costs a few dollars. The joint, done right, will hold for decades.
Dowel joints: Little wooden pegs align and hold pieces together. Common failure point in mass furniture. Dowels snap or pull free. Fix: drill out the broken dowel, tap in a new one with glue. An inexpensive dowel kit handles this indefinitely.
Pocket screws: Angled screws driven through a pocket into adjacent wood. Fast and adequate for face-frames, weak under racking stress. If a joint is failing and was pocket-screwed, add corner blocks — right-angle blocks glued and screwed inside the corner. It's a short afternoon fix that outlasts the original joint.
Biscuit joints: Compressed wood wafers in slots, swelled by glue. When these fail, re-gluing is straightforward if the biscuit is still intact. If it's gone, substitute with a properly sized dowel.
The key insight: furniture fails at its joints. The panels are almost always fine. Learning to diagnose joint failure is learning to save any piece.
Skill Three: Building New Connections
This is where people assume they need years of experience. You don't. You need two joinery methods, and you can practice both in an afternoon with scrap wood.
Pocket-hole joinery (Kreg Jig method): A jig drills an angled hole at a specific depth. You drive a special screw through it into the mating piece. Produces strong face-frame and edge joints. Takes about 20 minutes to learn. A basic Kreg jig runs somewhere in the range of $35–$50 depending on where you buy it — check your local tool library before purchasing. With this alone, you can build floating shelves that hold weight, reinforce any drawer box, add a face frame to a cabinet carcass, construct a simple bench.
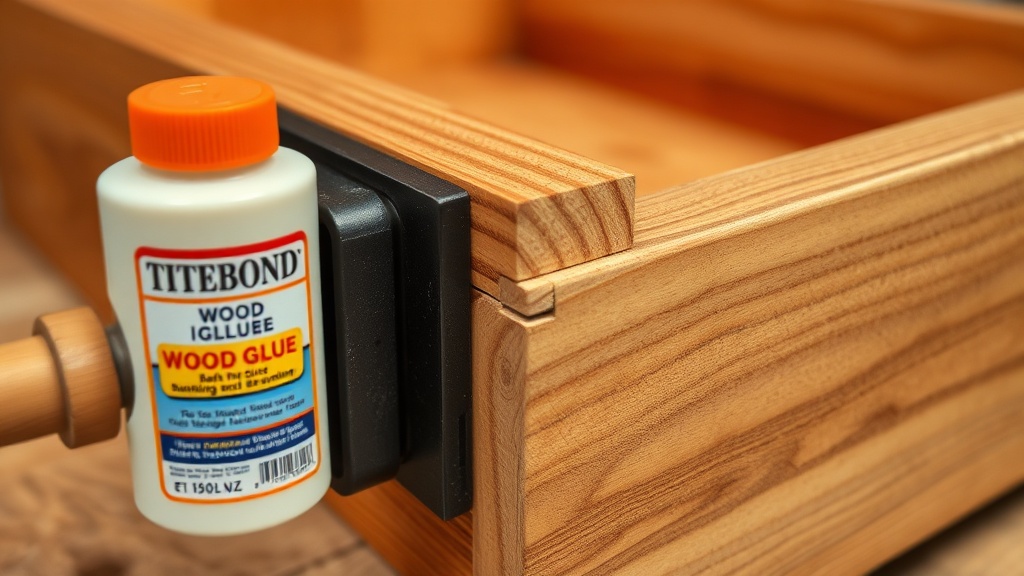
Glue and clamp with surface prep: This is the step most people skip, and it's the one that determines whether your repair lasts. Wood glue (Titebond II or III) is stronger than the wood itself when surfaces are properly prepared. Flat, clean, dust-free mating surfaces. Two clamps minimum. 24 hours cure. No shortcuts. This combination — proper prep plus glue — creates bonds that will outlast screws.
You don't need dovetails. You don't need hand-cut mortises. You need pocket screws, glue, and the patience to let things cure.
Skill Four: Structural Finishing
Finishing is where most beginners give up, because most tutorials skip the boring part that actually determines whether your finish lasts years or months.
The sequence is not optional:
Sand with the grain, not across it. Cross-grain scratches show through any finish. Start with 80-grit if there's old finish or damage, step up through 120, then 150 or 180 for the final pass. Do not skip grits — each one removes the scratches left by the previous.
Remove dust completely before every coat. A tack cloth or a damp microfiber cloth. Seal the wood with a washcoat or sanding sealer before stain if you're working with open-grain wood (oak, ash) or porous wood (pine, poplar). Without a washcoat, stain absorbs unevenly and you get blotching. This step alone separates "looks DIY" from "looks intentional."
Topcoat choice matters more than brand. For furniture that takes abuse — dining tables, dressers, anything with daily contact — use oil-based polyurethane, applied thin, sanded lightly between coats with 220-grit. Three coats. Water-based poly cures faster but is less durable. Hardwax oils like Rubio Monocoat are beautiful and repairable in-place — the penetrating finish I use on anything I want to be able to spot-repair in a few years without stripping the whole piece.
The repair is always in the surface prep. If a finish looks bad, it's almost always a prep failure, not a product failure. Strip, sand, start over. Properly prepped wood with inexpensive poly looks better than sloppily prepped wood with premium Danish oil.
The Actual Math
Here's why this matters economically, especially now, with fast furniture prices climbing and quality falling:
A solid oak dresser — eight drawers, dovetailed, probably mid-century — shows up on Marketplace for well under a hundred dollars. The veneer is lifted in one corner, one drawer slide is broken, and the finish is tired. (I've pulled pieces like this for anywhere from $30 to $80 depending on the seller and the city.)
Materials to fix it: veneer edge tape, a bottle of Titebond, sandpaper in a few grits, a small can of finish. In my experience, you're typically looking at somewhere between $40 and $70 in materials total — less if you already have supplies.
That dresser, properly repaired with a penetrating finish, will last as long as you take reasonable care of it. Solid hardwood with mortise-and-tenon joinery doesn't have a manufacturer-assigned lifespan. It just keeps going.
The equivalent from a mass-market retailer today — particleboard with a foil wrap — runs several times what you'd pay on Marketplace, and it has an implicit expiration date: its first damp basement, its first cross-country move.
The skill you used to fix that dresser? You own it now. You apply it to the next one, and the one after that, and eventually you can teach someone else.
That's not inspiration-speak. That's just compounding.
Where to Actually Learn
Skip the endless YouTube spiral. Here's the actual path:
Find one project first. A thrifted piece with a specific problem — wobbly joint, damaged finish, broken drawer. A real constraint teaches faster than abstract practice.
Get one reference book. The Complete Manual of Woodworking by Albert Jackson and David Day is the reference, not a beginner-condescending book. You'll use it for years.
Borrow before you buy tools. A basic toolkit for everything above: mallet, chisels (set of four), hand saw, random orbital sander, clamps (start with four bar clamps), pocket-hole jig. Many cities have tool libraries. Many makerspace memberships include full shop access — check local listings for current pricing.
Find community. The Women's Woodwork collective has a national chapter directory. Local makerspaces almost always have women-in-trades programming. Show up with a specific problem — these are skill exchanges, not support groups.
International Women's Day is this weekend. The furniture industry will sell you a pink power screwdriver. The tool industry will sell you a "starter kit" sized for smaller hands at a premium, with worse steel.
Or: you could learn to flatten a warped board.
Your hands are better than their margin.
Next: A specific guide to the Kreg Jig — the one tool that makes pocket-hole joinery accessible to beginners, and the mistakes most people make in the first month.