The Complete Guide to Upcycling a Mid-Century Sad-Beige Orphan with Architectural Precision

Introduction: Why Upcycling Matters
Fast furniture is a modern blight: hollow particle board destined for the landfill, sold to us with clever marketing and zero structural integrity. At DIY Design Lab, we rescue what I call 'sad-beige orphans'—pieces from Craigslist, Facebook Marketplace, or the back of your neighbor's curb pile—and bring them back to life with architectural precision. This guide will take you step by step through the process, from assessment to the final coat of finish, using real tools and design math.

Step 1: Assessment and Preparation
Begin by examining your piece. Look for structural weaknesses, water damage, or warped panels. Remove all hardware and label each piece. Create a 'True Cost Ledger' spreadsheet for materials and tools.
Pro-ish Tip: Keep a digital photo log of each stage; it’s invaluable for post-mortem learning.
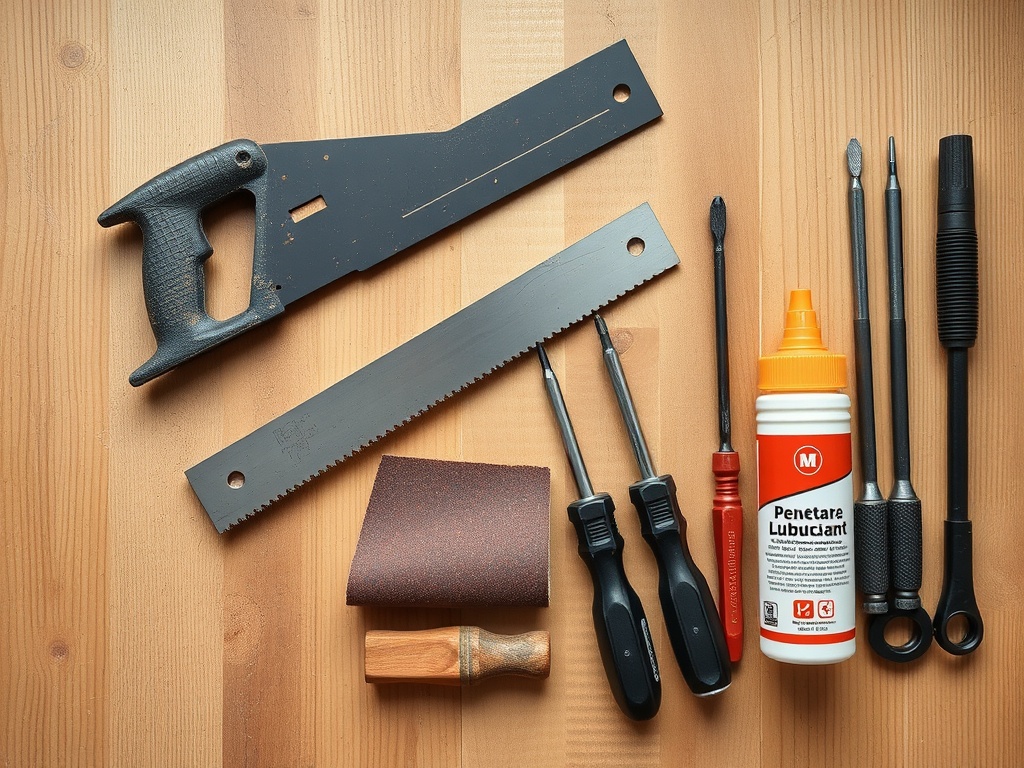
Step 2: Disassembly and Cleaning
Disassemble the furniture carefully. For screws that won’t budge, use a penetrating lubricant. Sand down surfaces with a coarse grit first to remove old finish, then progress to finer grits. Never rush—your prep work sets the foundation.
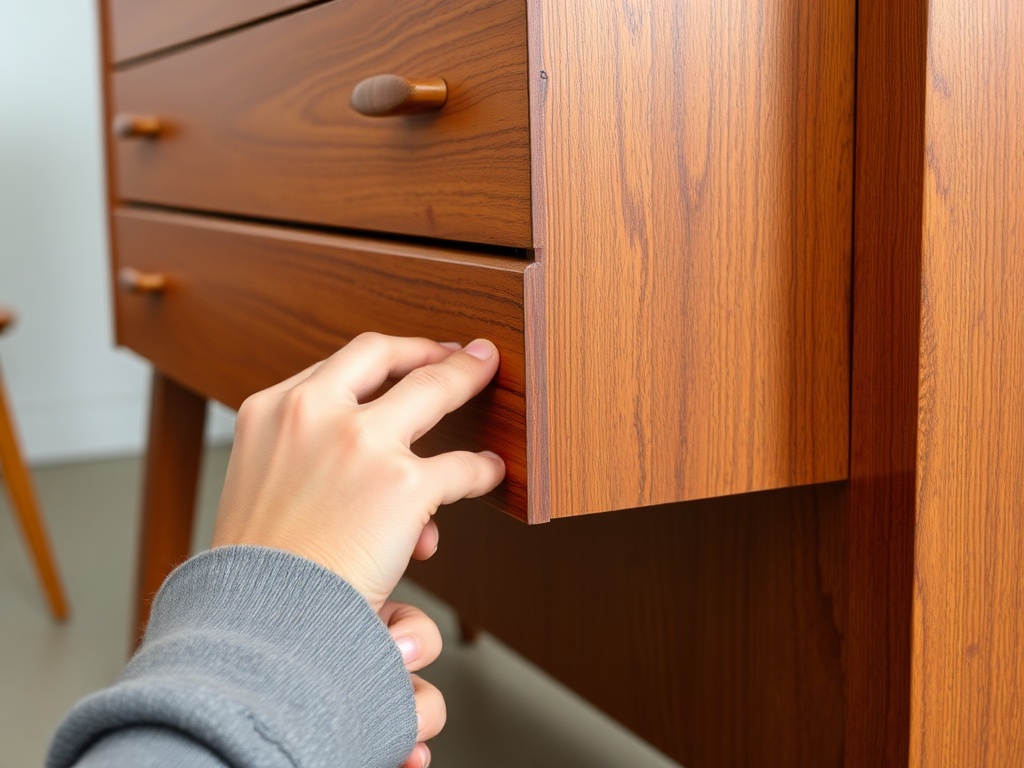
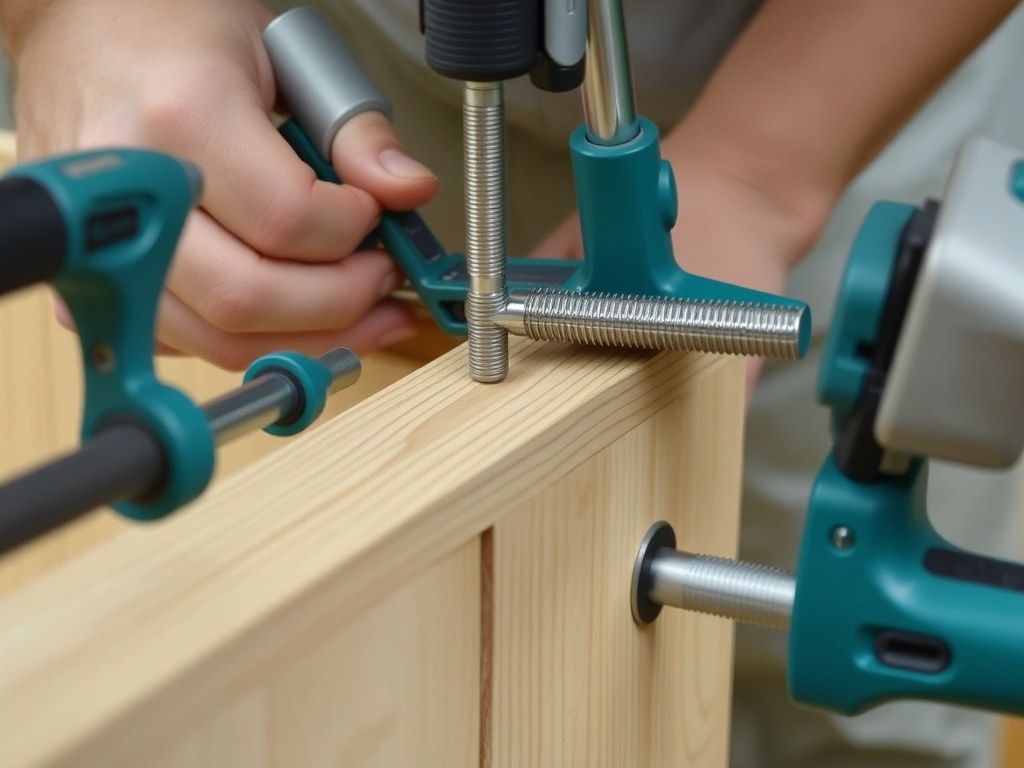
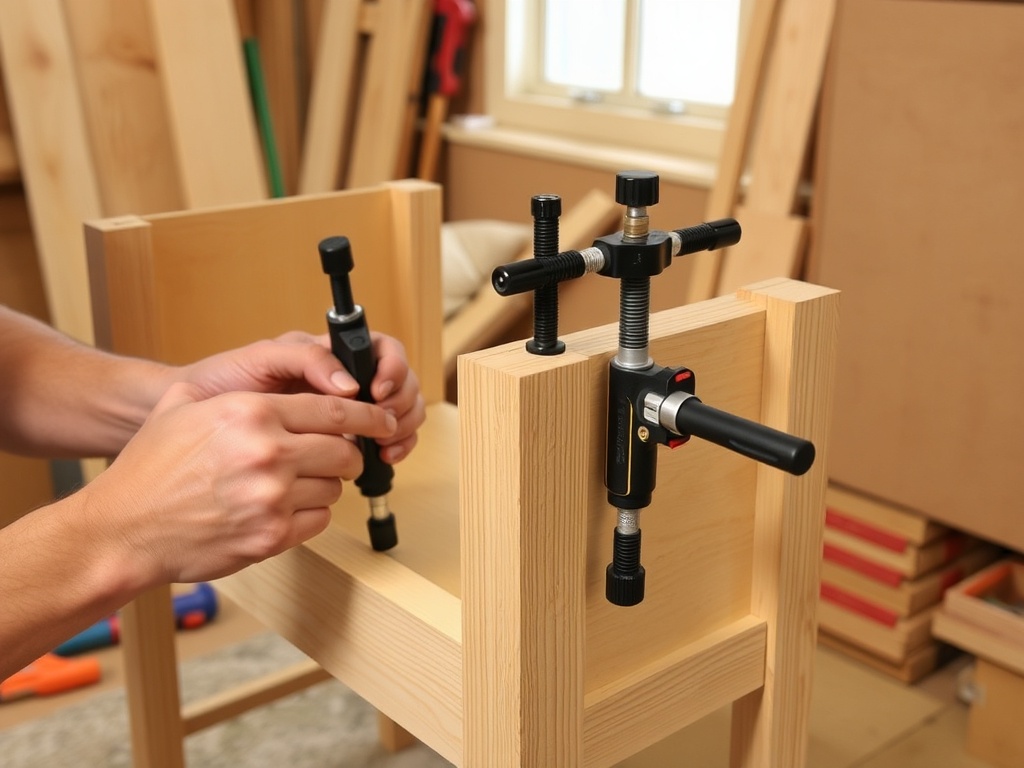
Step 3: Structural Reinforcement with White Oak Shims
This is where Design Math kicks in. Measure gaps and weak joints; cut raw white oak shims to support every compromised area. Insert and glue shims with wood glue, then clamp securely.
The Design Math: Proper shimming distributes weight evenly, preventing future sagging. A 1/4" shim in the right place can save a table leg from splitting entirely.
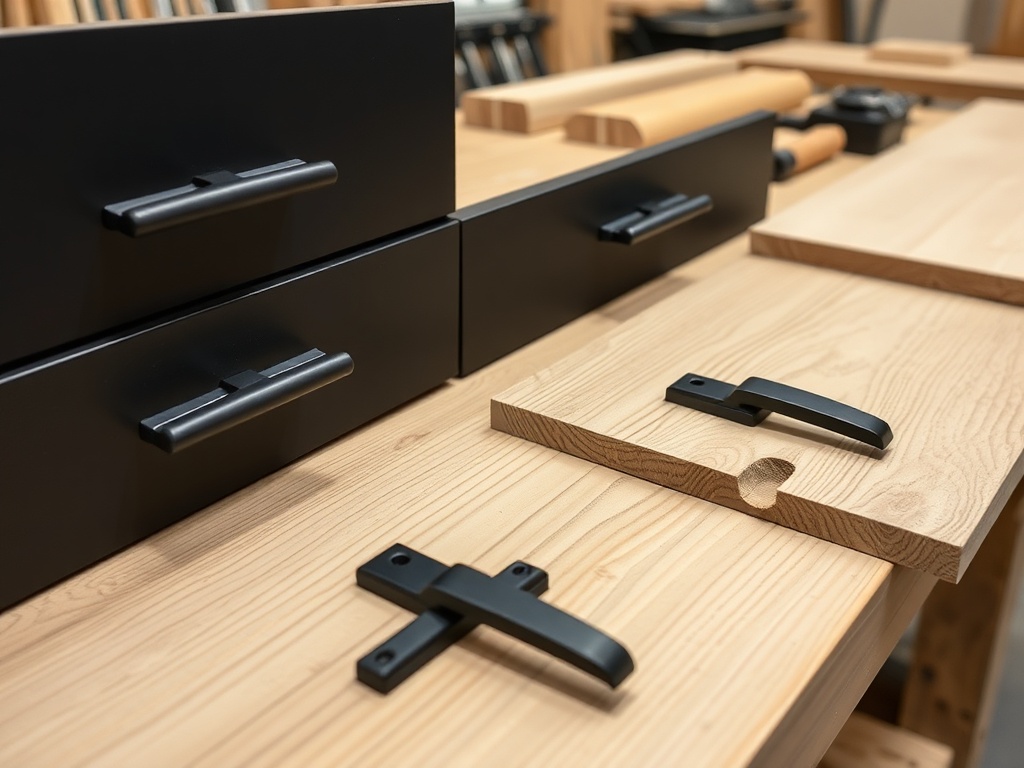
Step 4: Hardware Replacement and Matte Black Finish
Choose matte black hardware for a timeless, professional look. Pre-drill screw holes to avoid splitting the wood. Reattach with care. If your original hardware is salvageable, clean and refinish instead.
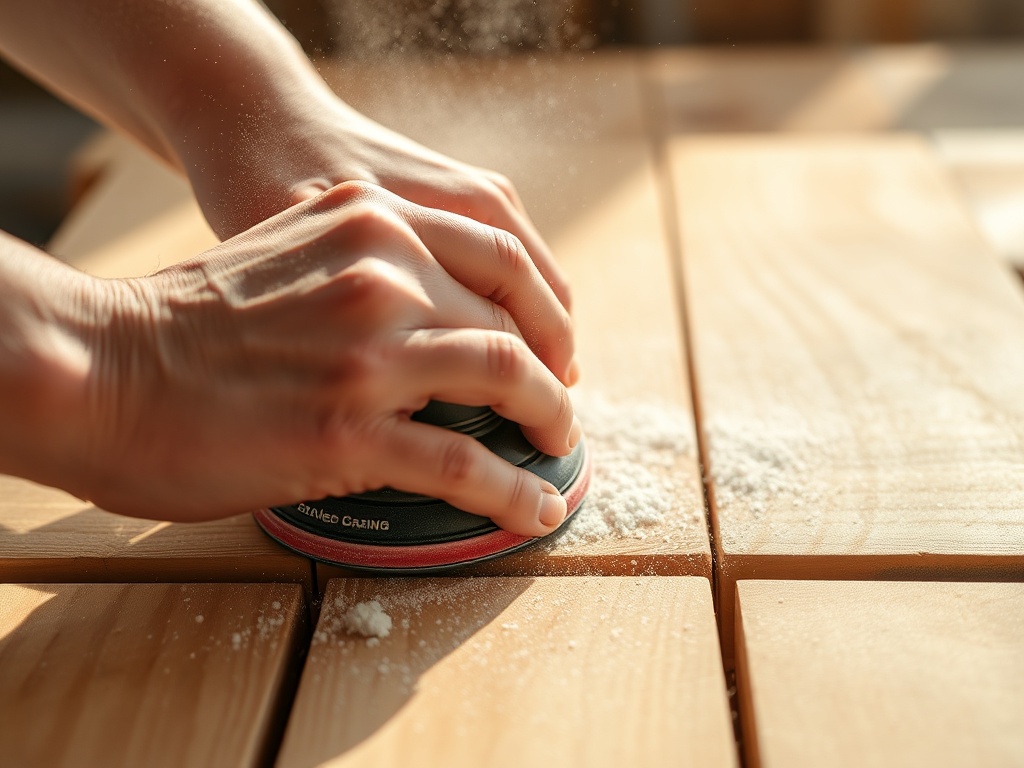
Step 5: Sanding and Surface Prep
Use medium-grit sandpaper on flat surfaces, then finish with fine-grit for smoothness. Always sand with the grain. Dust thoroughly between grit changes. The difference between a 'good' and 'pro' finish is patience in sanding.
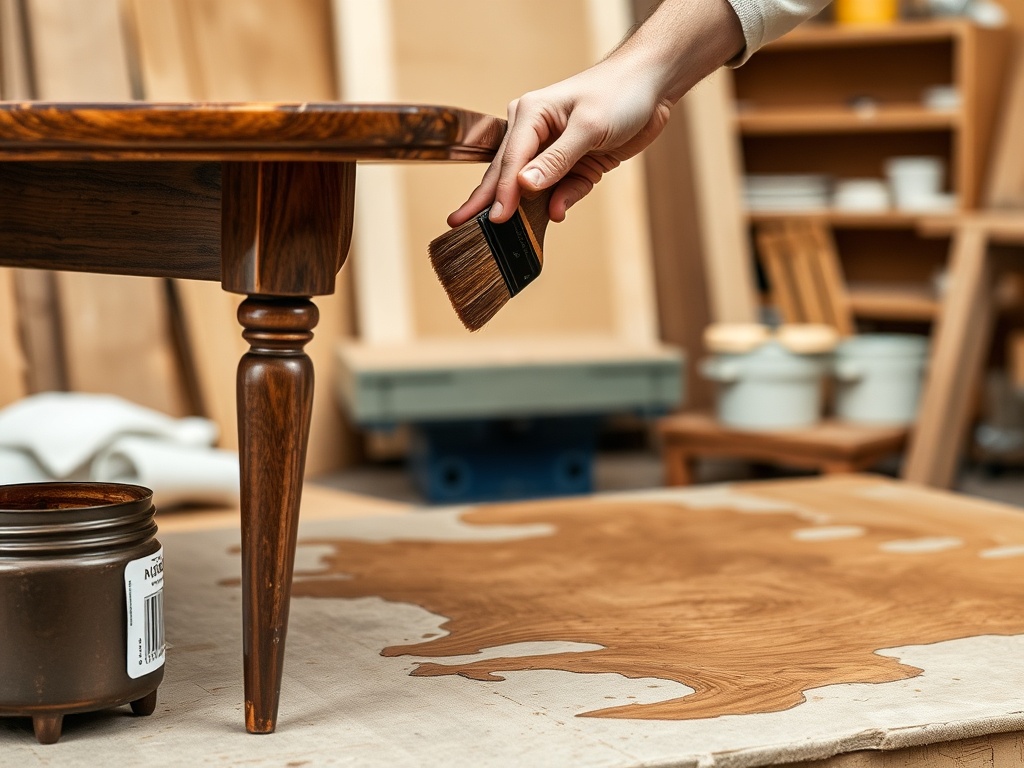
Step 6: Finishing and Staining
Choose a finish that protects and highlights the wood grain. Apply in thin coats, allowing full drying time between layers. Avoid shortcuts: rushed staining leads to blotches.
Step 7: Reassembly and Quality Check
Carefully reassemble all components. Check for wobble or misalignment. Adjust shims or hardware if necessary. Every joint must be inspected; cosmetic fixes alone are insufficient.
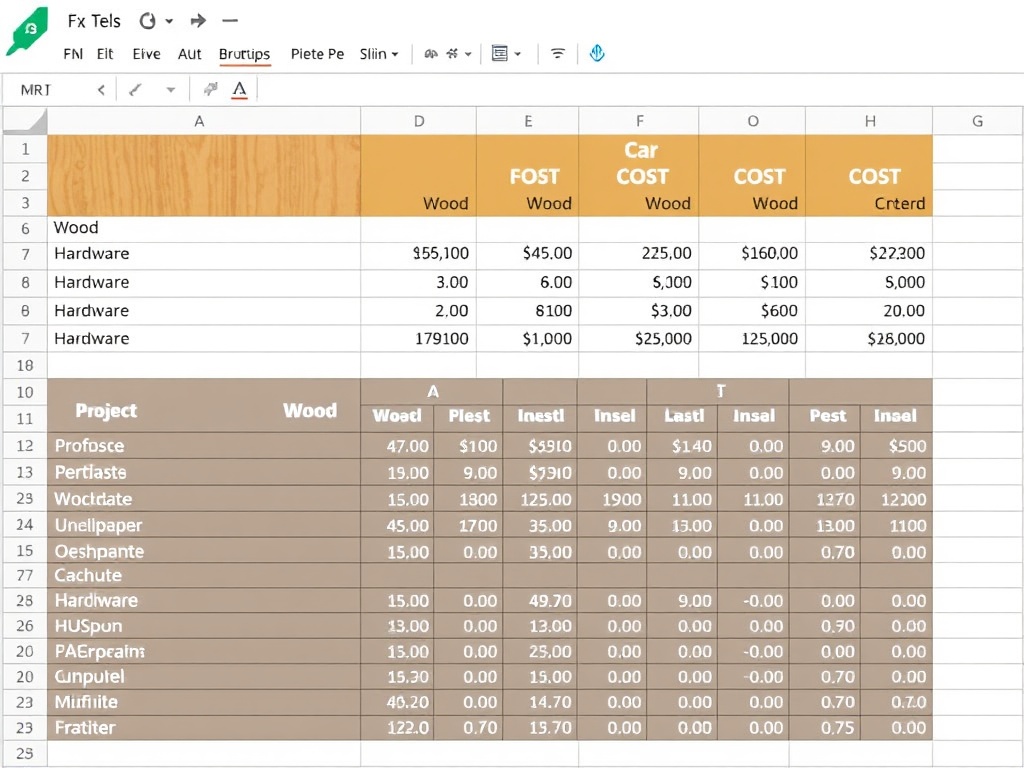
Step 8: The True Cost Ledger
Record all expenditures, including:
- Raw materials (wood, hardware)
- Consumables (sandpaper, wood glue, stain)
- Waste (mis-cuts, ruined sandpaper)
- Total True Cost: Provides transparency and future budgeting insights
This transparency is part of the DIY Design Lab philosophy. Understanding the cost per project helps you decide whether upcycling is worth it versus buying new.
Step 9: Post-Mortem and Lessons Learned
Document mistakes (crooked leg, blotchy stain) and solutions. Analyze what worked and what didn’t. This reflection informs your next build and is invaluable for growth.
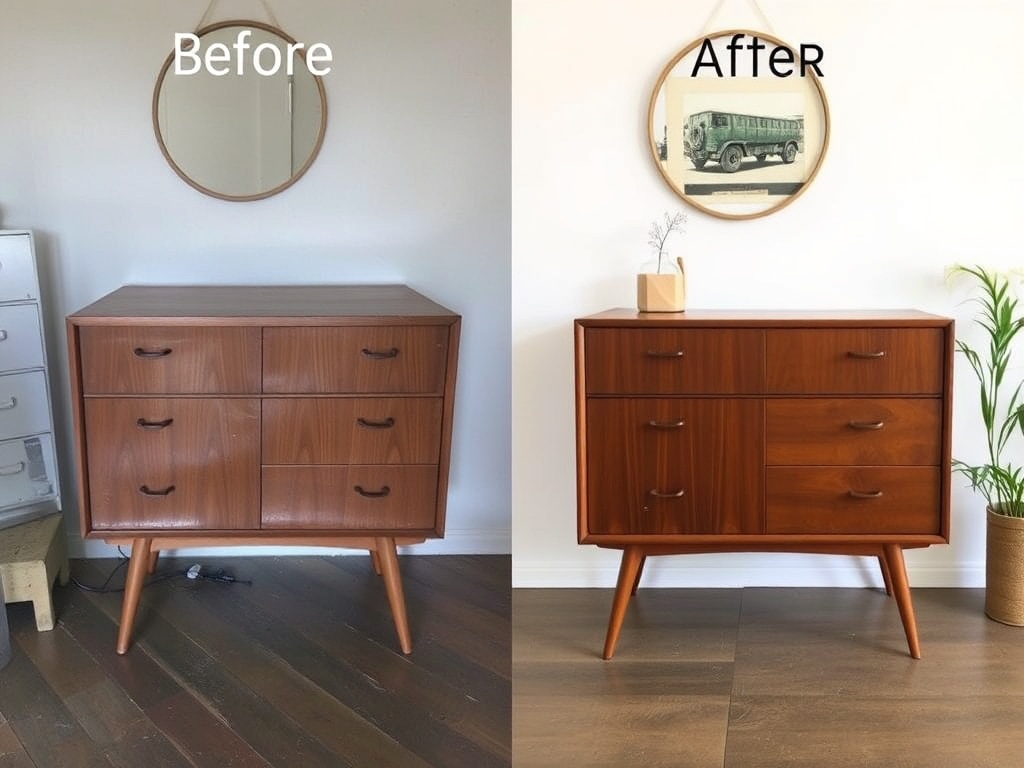
Conclusion: Empowered DIY Design
By following these steps, you transform not only the furniture but your confidence with real tools. Each project reinforces the principles of structural integrity, design math, and professional finishes. Remember: patience, preparation, and precision are your allies. Let's get into the sawdust.