Smart Thermostat Installation: Save Money, Keep Landlord Happy

Ever wonder why you can’t just snap a thermostat onto the wall and start saving? In 2026, the right smart thermostat can shave $50–$75 off your utility bill, but only if you install it right—without getting a landlord’s eye‑roll.
Why Should You Install a Smart Thermostat Yourself?
Because the cost of a professional install still hovers around $150–$400 in 2026, according to HomeAdvisor. And, as a renter, you often have the freedom to mount a plug‑in model that doesn’t touch the wiring. Doing it yourself means you keep the cash, the control, and the bragging rights.
What Exactly Is a "Smart" Thermostat?
In my world, a smart thermostat is any device that:
- Is ENERGY STAR certified (the gold standard for efficiency).
- Talks to Wi‑Fi or a hub so you can tweak temps from your phone.
- Offers learning or schedule features that actually reduce heating/cooling cycles.
Think Ecobee SmartThermostat, Google Nest Learning Thermostat (2020+), or Honeywell Home T9. All three appear on the Energy Star product list.
Do I Need a "C‑Wire"?
Most modern units run on a simple plug‑in battery pack, but the high‑performance models like Ecobee love a constant‑power (C‑wire) connection. If your home only has red‑white‑green wires, you have two options:
- Power‑adapter kit. I recommend the same kit we use to breathe life into cheap furniture—it’s a $12 jumper that converts the existing 24‑V transformer to a steady 24‑V feed.
- Run a new C‑wire. If you’re comfortable pulling a thin wire behind the drywall (think of it as a structural reinforcement, not a demolition job), you’ll save future headaches.
Step‑by‑Step: Installing Your Smart Thermostat
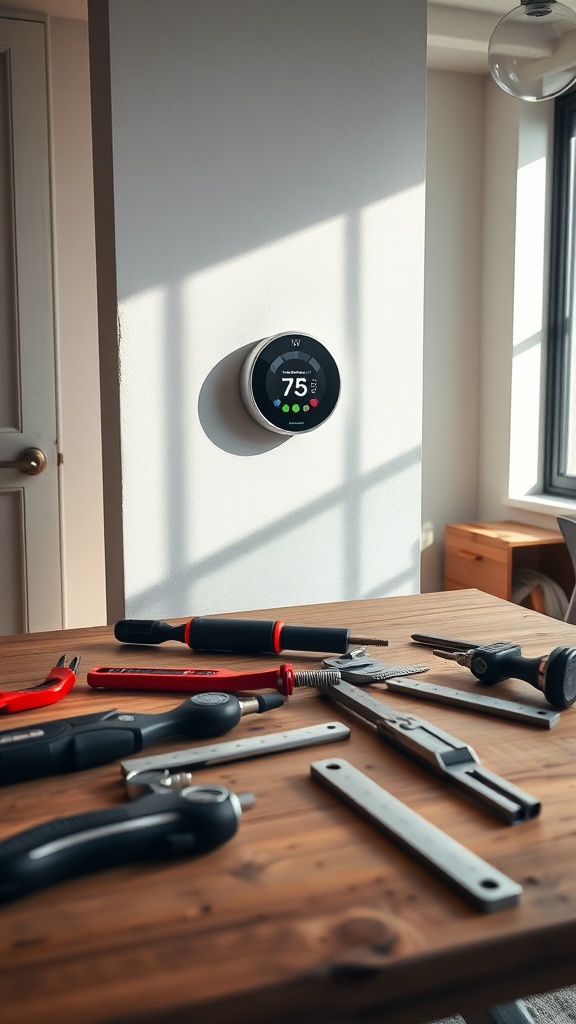
1. Gather Your Tools (and Say Goodbye to Glue‑Gun Shortcuts)
Here’s the minimal tool list—nothing fancy, all things I keep in my “Bernice” toolbox:
- Flat‑head screwdriver (Phillips if your thermostat calls for it).
- Drill with 1/8‑in. spade bit (for the power‑adapter kit).
- Level (to keep the unit straight—design math matters).
- Smartphone with the thermostat’s app installed.
2. Turn Off Power & Label Wires
Safety first: shut off the HVAC breaker. Snap a photo of the existing wires—this is your “as‑built” record, just like a structural survey.
3. Remove the Old Thermostat
Unscrew the old unit, gently pull it away, and note which wires were attached. If you see a spare C‑wire, you’re golden. If not, you’ll use the adapter kit.
4. Install the Backplate
Secure the new backplate with the supplied screws. Use the level to make sure it’s perfectly horizontal—tilted units waste energy and look sloppy.
5. Connect the Wires
Match each wire to the terminal labels (R, C, Y, G, W). If you’re using the adapter, splice the kit’s red wire into the existing red (24‑V) and the black into the C‑terminal.
6. Mount the Thermostat & Power Up
Clip the thermostat onto the backplate, restore power at the breaker, and watch the screen light up. Follow the on‑screen wizard to connect Wi‑Fi and set your home’s schedule.
7. Verify the Installation
Run the built‑in diagnostic (most units have one). If it reports “C‑wire detected,” you’re set. If not, double‑check your connections.
How Do I Claim the Rebate After Installing?
Now that you’ve installed the device, the rebate process is a breeze. Check out our Smart Thermostat Rebates guide for the exact forms. In short:
- Snap a photo of the installed thermostat and the Energy Star label.
- Upload the receipt and photos to your utility’s rebate portal.
- Wait 2–4 weeks for the check or credit.
What If My Landlord Says “No?”
Most plug‑in models are classified as “non‑permanent” upgrades, meaning you can remove them without damaging the wall. If you’re still uneasy, offer to install the device yourself and present the rebate paperwork—landlords love the prospect of a utility credit.
Takeaway: Design Math Meets DIY Grit
Installing a smart thermostat isn’t a “nice‑to‑have” project; it’s a cost‑cutting, comfort‑boosting upgrade that respects the same structural principles I apply to a reclaimed bookshelf. Grab a model, follow the steps, claim the rebate, and watch your energy bill shrink—no glue‑gun shortcuts, no landlord drama.
Need to budget your project? Check our 7 Essential Tools. Want a quick energy audit before you start? Our DIY Home Energy Audit 2026 will tell you where you can save more.
Related Reading
- How Renters Can Cash In on 2026 Smart Thermostat Rebates — the money‑making side of this upgrade.
- 2026 DIY Window Insulation Hacks — pair this with your thermostat for max savings.
- The Small Hardware Upgrade That Makes Cheap Furniture Feel Expensive — the same power‑adapter kit you might need for a C‑wire.
Steps
- 1
Gather Tools
Flat‑head screwdriver, drill with 1/8‑in. spade bit, level, smartphone with thermostat app.
- 2
Turn Off Power & Label Wires
Shut off HVAC breaker, photograph existing wiring for reference.
- 3
Remove Old Thermostat
Unscrew, note wire connections, and decide if a C‑wire is present.
- 4
Install Backplate
Secure backplate, ensure it’s level for optimal performance.
- 5
Connect Wires (or use adapter kit)
Match wires to terminals; splice adapter if no C‑wire.
- 6
Mount Thermostat & Power Up
Attach thermostat, restore power, and run Wi‑Fi setup wizard.
- 7
Verify Installation
Run diagnostic, confirm C‑wire detection, and adjust if needed.
- 8
Claim Rebates
Photo of installed unit, upload receipt, wait 2–4 weeks for credit.