Reinforce Cheap Furniture in 5 Minutes: Quick DIY Fixes

Hook
Ever stared at a wobbling IKEA bookshelf and thought, "I could just toss it"? What if you could turn that flimsy piece into a sturdy, long‑lasting shelf in under five minutes—without splurging on a new set?
Why It Matters
Cheap flat‑pack furniture is a landlord‑special nightmare for renters and homeowners alike. Re‑engineering it yourself saves money, reduces waste, and gives you the satisfaction of applying real‑world design math to everyday problems.
What You’ll Need
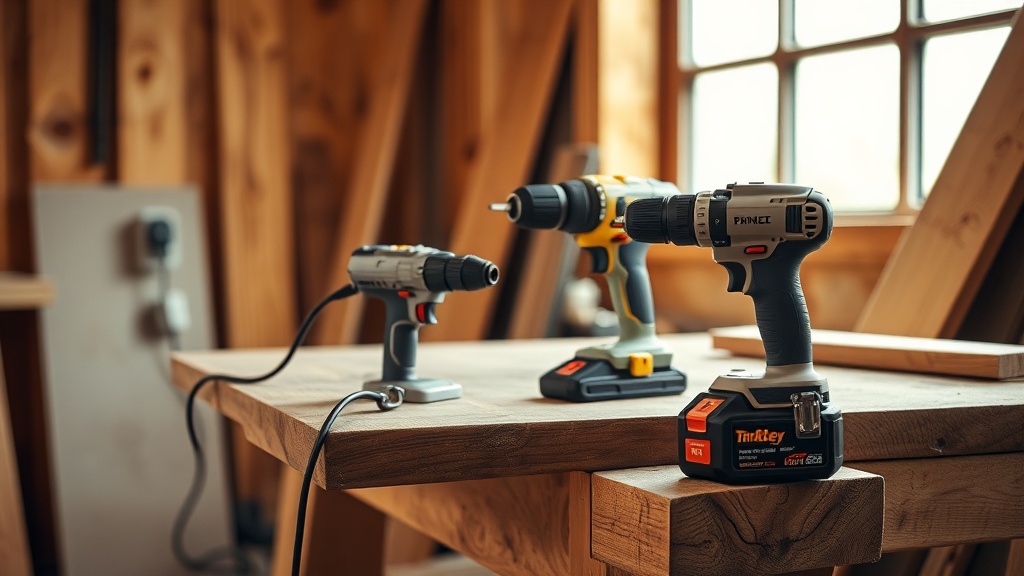
- A corded drill (or a reliable cordless one) — we’ll use the classic drill from the featured image.
- Metal corner brackets (½‑inch, 2‑inch long) — the kind you find in the hardware aisle.
- Thread‑locking epoxy (optional for extra grip).
- 2‑inch wood screws (preferably flat‑head).
- A hand‑saw or jigsaw if you need to trim.
- Measuring tape and a pencil.
Step‑by‑Step Reinforcement
1. Which joints are the weak points?
Identify the corners where the frame meets the panels. Those are the stress hotspots that cause wobble.
2. How do metal brackets add structural integrity?
Attach a metal corner bracket on the inside of each identified joint. Pre‑drill pilot holes to avoid splitting the particleboard, then screw the bracket in place. The metal distributes load across a larger area, turning a point‑load into a shear‑load.
3. When should I use epoxy for extra hold?
If the furniture is older or the particleboard feels soft, dab a tiny amount of thread‑locking epoxy into the pilot hole before inserting the screw. It cures to a rubbery bond that resists loosening.
4. What about reinforcing shelves that sag?
Slide a cleat (a thin strip of plywood) under the shelf, securing it with two screws at each end. This creates a hidden support beam that dramatically reduces sag.
5. How do I finish the job without looking like a handyman?
Use a countersunk screw head so it sits flush, then cover it with a matching wood filler or a decorative plug. A quick wipe with a damp cloth hides any evidence of the repair.
Pro Tips
- Double‑check alignment before tightening screws; a misaligned bracket can cause new wobble.
- Use a torque‑limiting drill setting (around 30‑40 in‑lb) to avoid over‑driving screws and crushing the particleboard.
- Label your brackets with a pencil for future reference—especially useful when you move furniture.
Common Mistakes & Fixes
- Skipping pilot holes — leads to cracked panels. Always pre‑drill a ¼‑inch pilot.
- Using the wrong bracket size — too small won’t bear the load. Stick to at least ½‑inch wide brackets.
- Over‑gluing — epoxy is great, but too much creates a brittle joint. Use a pea‑sized dab.
Takeaway
A few minutes, a drill, and a handful of metal brackets can transform a cheap, wobbly piece into a reliable fixture that lasts years. Next time you eye that budget bookshelf, remember: design math beats cheap construction every time.
Related Reading
- Stop Throwing Out Wobbly Furniture: The Structural Diagnosis and $65 Fix — deeper dive into diagnosing furniture issues.
- The Small Hardware Upgrade That Makes Cheap Furniture Feel Expensive — more hardware tricks.
- The First Power Tool to Own (And Why Everyone Gives You Wrong Advice) — choosing the right drill.
Sources
- Home Depot DIY Tool Guide — https://www.homedepot.com/c/DIY_Tool_Guide
- The Spruce How to Reinforce Furniture — https://www.thespruce.com/reinforce-furniture-4178226
- This Old House Strengthening Flat‑Pack Furniture — https://www.thisoldhouse.com/furniture/21017630/how-to-strengthen-flat-pack-furniture