How to Turn a $40 "Sad-Beige" Dresser Into a White Oak, Matte Black Statement Piece

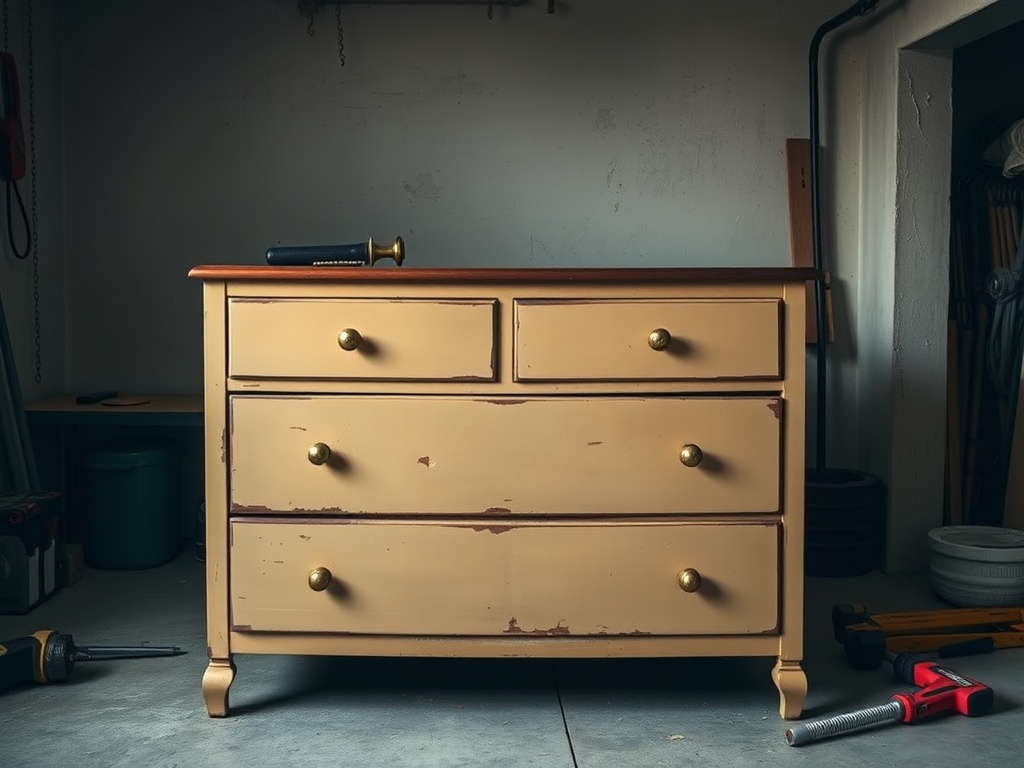
Listen, don’t be intimidated by a $40 dresser that looks like it came free with a lease agreement. Structurally, most of these "sad-beige orphans" are salvageable—they’re just wearing a bad finish and worse hardware. We’re not here to decorate it. We’re here to rebuild its dignity.
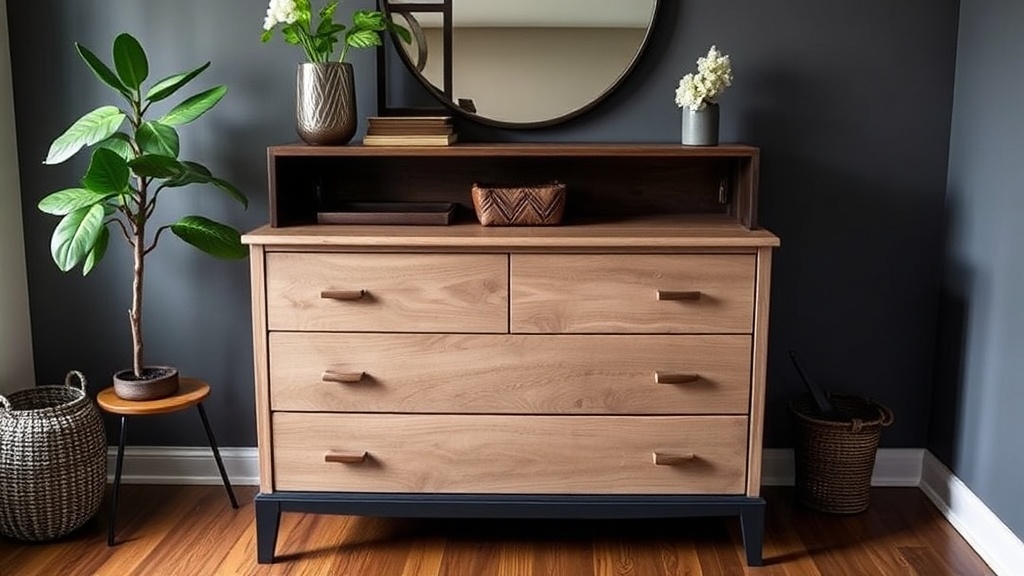
The Design Math: This project works because we’re balancing texture and contrast using a 60-30-10 ratio. 60% clean painted structure, 30% exposed wood grain (white oak), 10% matte black hardware. That ratio is why this ends up looking like a $900 piece instead of a roadside regret.
Let’s get into the sawdust.
Step 1: Structural Triage (Before You Touch Sandpaper)
Flip the dresser. Yes, actually flip it. We’re checking three things:
- Joint integrity: Are the corners tight or wobbling?
- Back panel: Is it stapled cardboard (we’ll fix that)?
- Drawer glide condition: Wood-on-wood or cheap metal slides?
If the frame is loose, inject wood glue into joints and clamp overnight. If it’s beyond repair, walk away. Not every orphan gets saved.
Step 2: Strip the Lies (Hardware + Fake Finish)
Remove every piece of hardware. Throw the warped knobs away (respectfully). Then assess the surface:
- If it’s laminate: scuff sand with 120 grit.
- If it’s veneer: be gentle—you’ve got maybe 1/16" to work with.
- If it’s solid wood: congratulations, you found treasure.
(Yes, you will sand longer than you think. No, there’s no shortcut. I tried once. Regretted it for three weeks.)
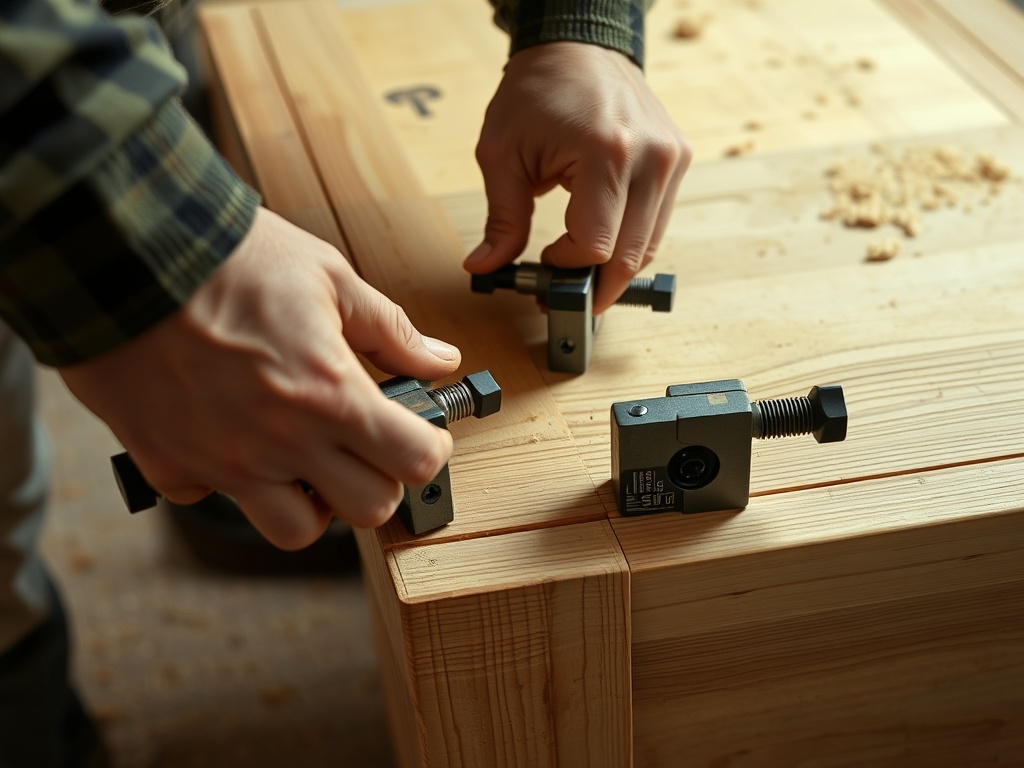
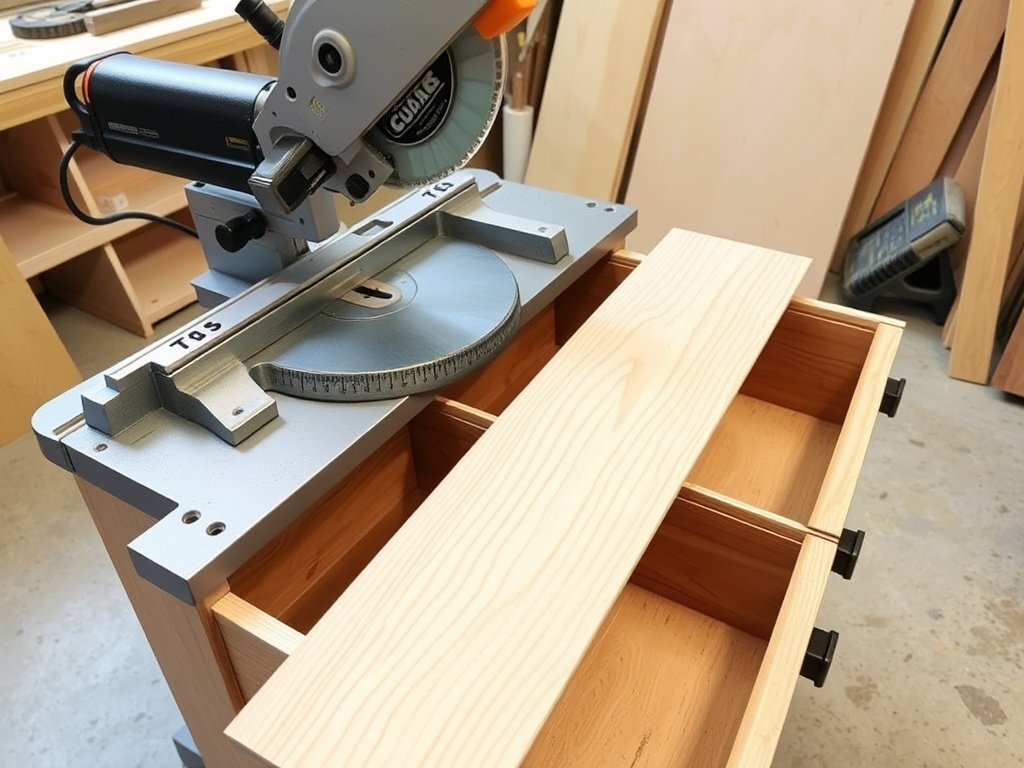
Step 3: Rebuild the Drawer Faces with White Oak
This is where the piece levels up.
Cut 1/4" white oak panels to overlay the existing drawer fronts. Use wood glue and pin nails to attach.
- Measure each drawer individually (they are never identical)
- Leave a consistent 1/16" reveal around edges
- Clamp evenly to avoid warping
This step alone is responsible for about 70% of the final "designer" look.
Step 4: Prime Like You Mean It
If you skip proper priming, the finish will fail. Period.
- Use a bonding primer (especially for laminate)
- Two thin coats, sand lightly between
- Focus on edges—they absorb differently
This is the difference between "DIY project" and "furniture."
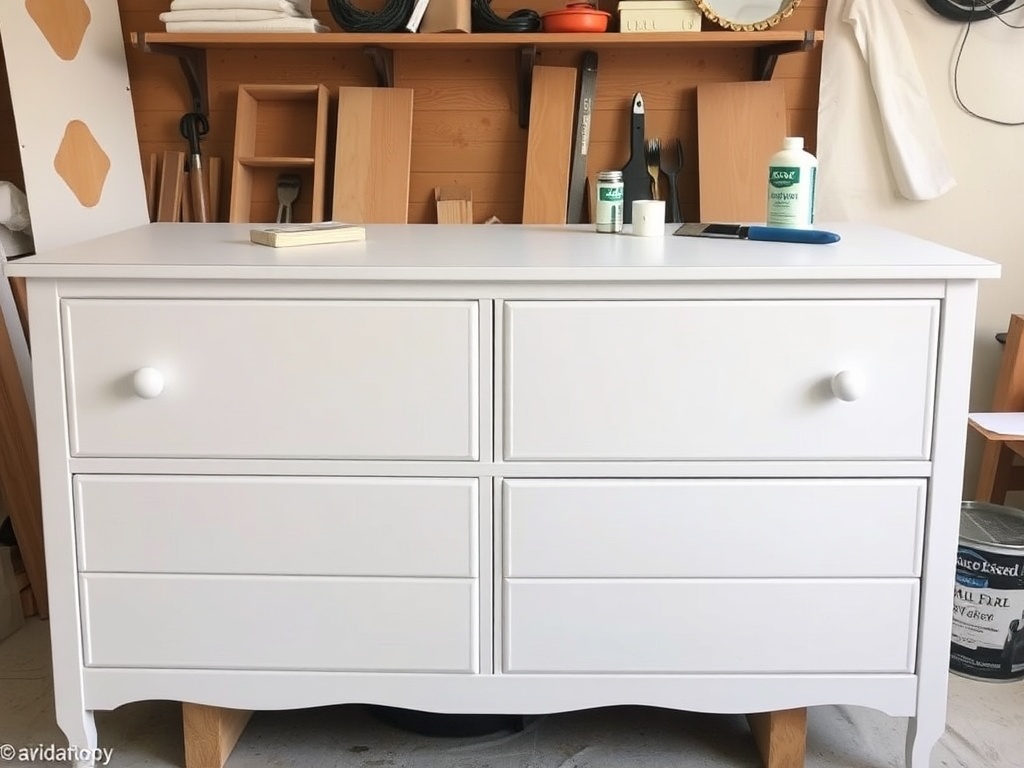
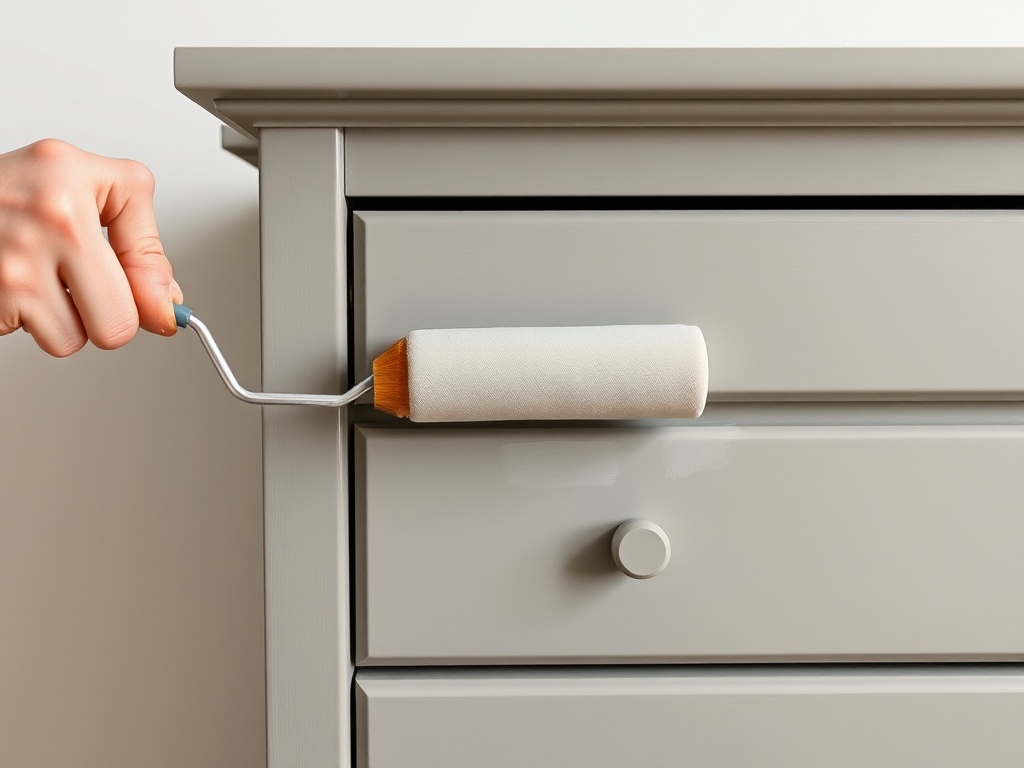
Step 5: Paint the Structure (Not the Wood)
Use a high-quality cabinet paint. Matte or satin only—anything glossy will highlight mistakes.
- Apply with foam roller + brush for edges
- Two to three coats
- Let it cure properly (not just dry)
Leave the oak raw for now. We’ll finish it separately.
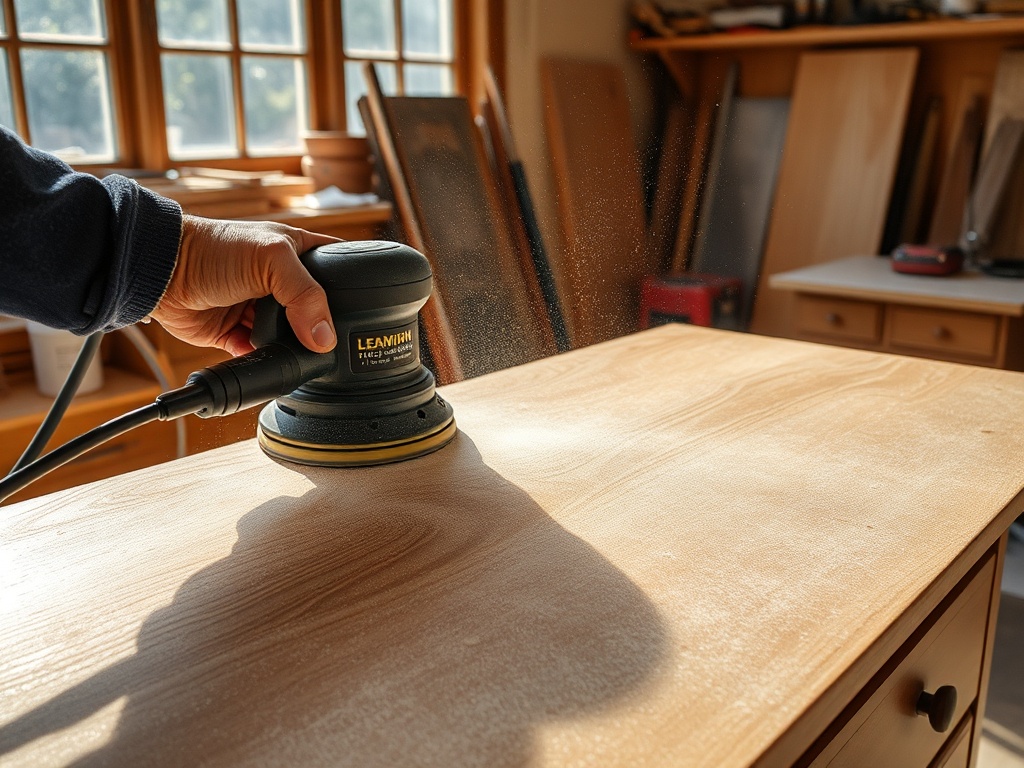
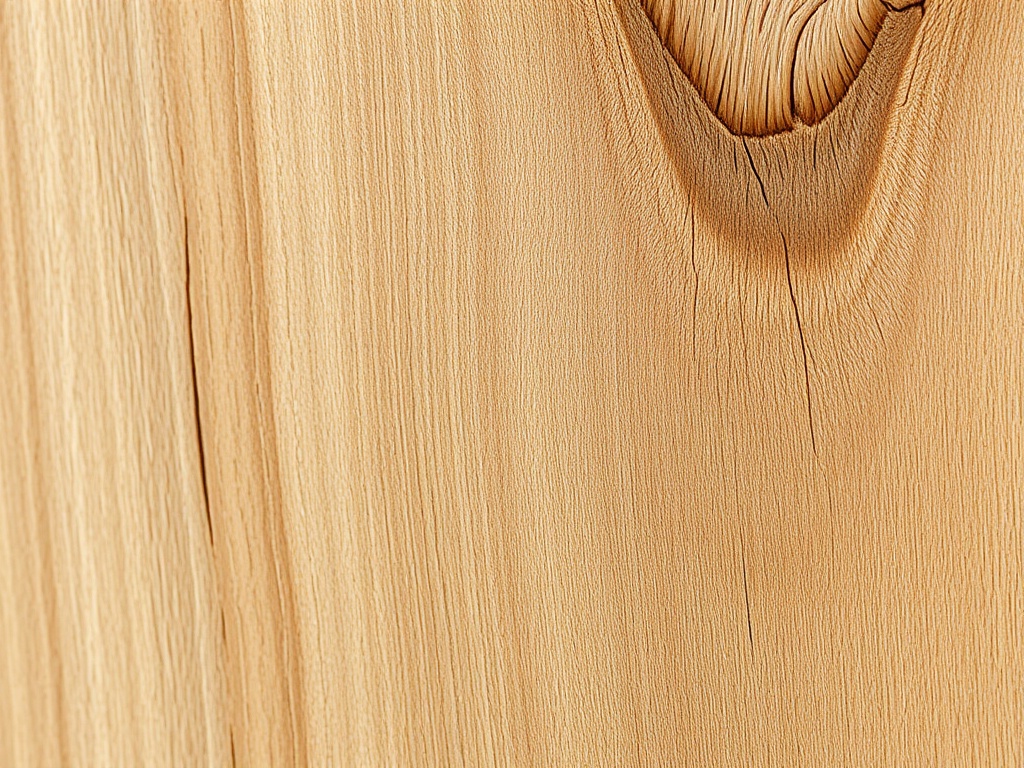
Step 6: Finish the White Oak (Respect the Grain)
Sand the oak to 220 grit. Then apply a natural oil or matte polyurethane.
- No stain unless you know exactly why you’re using it
- Wipe-on finishes reduce streaking
- Two coats minimum
White oak doesn’t need help. It needs restraint.
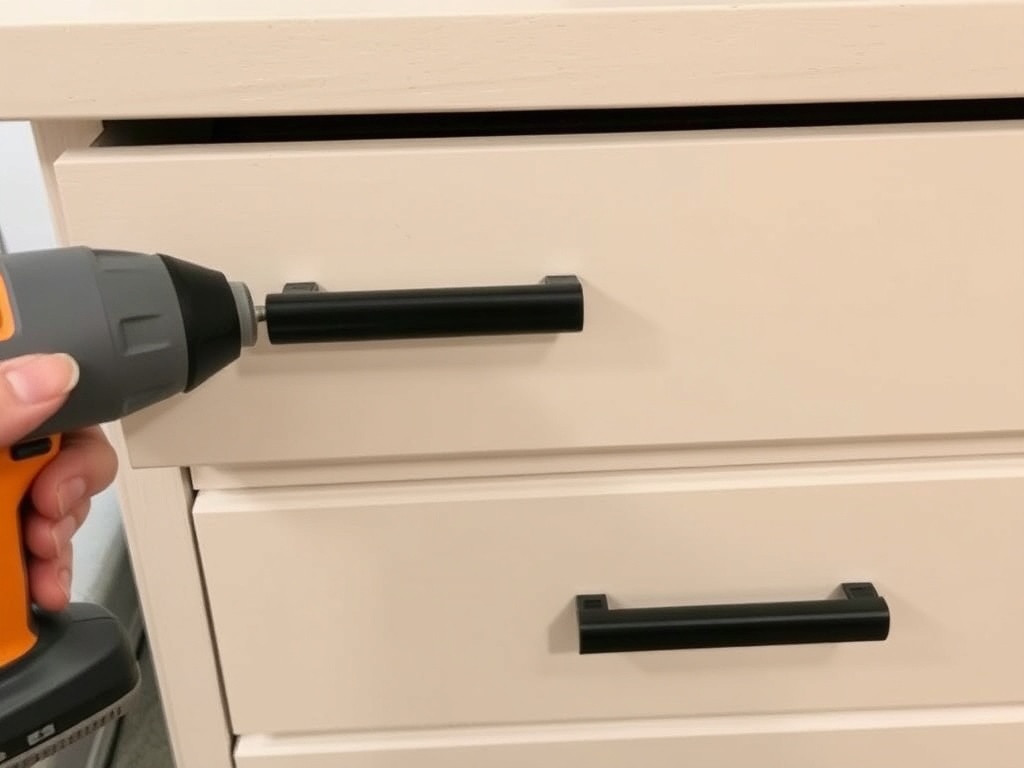
Step 7: Install Matte Black Hardware (The 10%)
Measure twice. Drill once. Use a jig if you have one.
- Centered pulls = safe choice
- Offset pulls = more modern, but requires precision
Matte black fixes almost everything—but only if it’s aligned.
Step 8: Reinforce the Back Panel (The Invisible Upgrade)
Replace flimsy backing with 1/4" plywood.
- Square the frame before attaching
- Nail or screw every 6–8 inches
You won’t see this, but you’ll feel it every time you move the piece.

The Cost Ledger (True Cost)
- Dresser (Marketplace): $40
- White Oak Panels: $48
- Primer + Paint: $32
- Matte Black Hardware: $26
- Consumables (sandpaper, glue, nails): $18
Total True Cost: $164
Post-Mortem (What Went Wrong)
I rushed one drawer measurement. It was off by 1/8". Had to recut the panel (and yes, I stared at it for 20 minutes hoping it would magically fix itself). Measure each drawer individually. Always.
Final Notes
This isn’t about saving money—it’s about building something that deserves to exist in your space. You didn’t just "update" a dresser. You rebuilt it with intention, proportion, and materials that will actually age well.
And now you know how to look at every sad-beige orphan and see structure instead of surface.
Go find the next one.
Steps
- 1
Structural Triage
- 2
Strip the Old Finish
- 3
Add White Oak Panels
- 4
Prime and Paint
- 5
Finish and Hardware Installation