How to Reinforce a Cheap Dresser So It Actually Lasts 10 Years

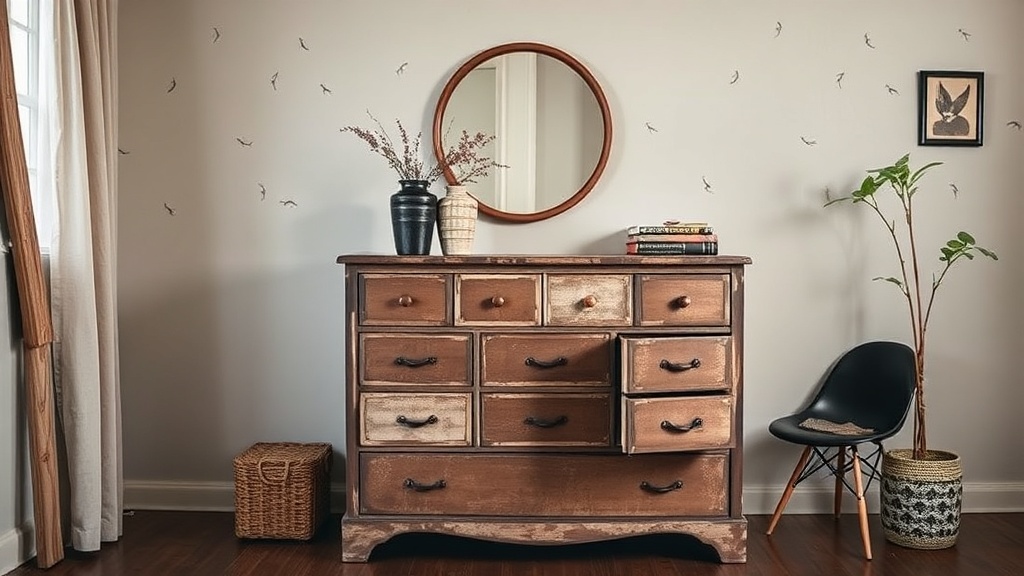
Listen, if your dresser wobbles every time you open a drawer, it’s not "character." It’s structural failure waiting to happen. Most of these sad-beige orphans are made from thin particle board, stapled backs, and hope. We’re going to fix that properly—with real joinery principles, not wishful thinking.
This is not a makeover. This is a structural intervention. We’re turning disposable furniture into something that can survive a decade of actual use.
The Design Math: Stability in furniture comes down to three things—lateral resistance (racking), load distribution, and joinery integrity. Most cheap dressers fail all three. We’re going to fix all three.
Step 1: Diagnose the Structural Failures (Before You Touch a Tool)
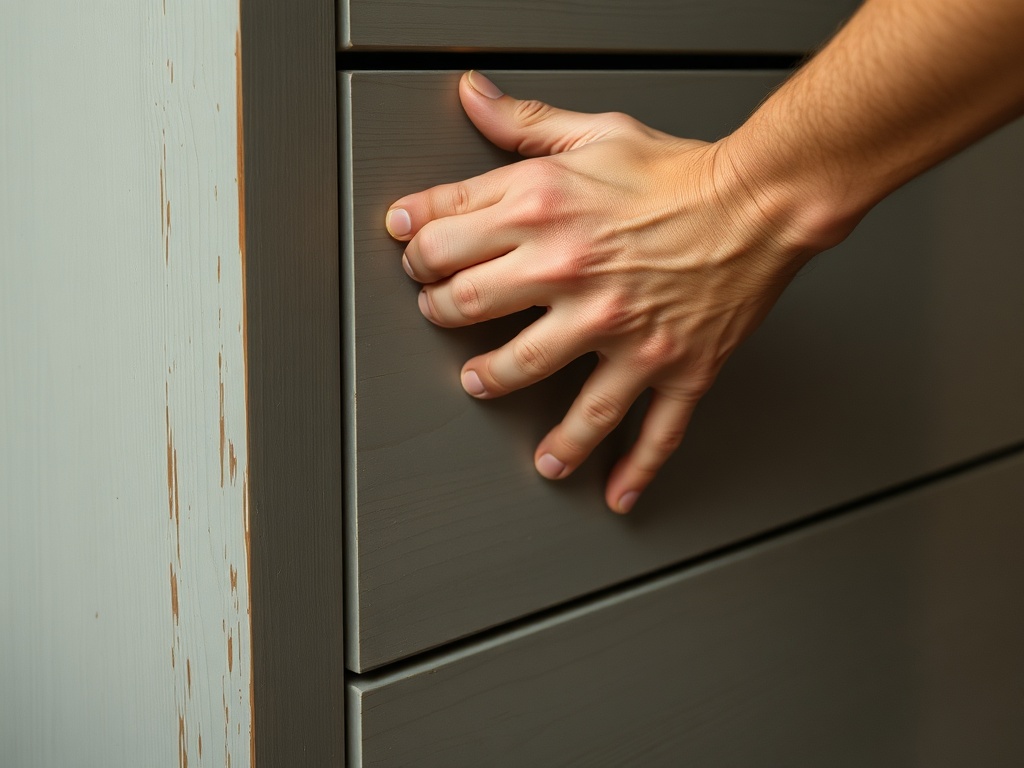
Before you start swinging tools around, you need to understand what’s actually wrong.
- Racking: Grab the top corners and gently twist. If it moves, your back panel is useless.
- Sagging: Look at the top surface—if it bows, the span is unsupported.
- Drawer Misalignment: This usually means the frame isn’t square anymore.
(Yes, I’ve had one collapse mid-project. No, I did not emotionally recover quickly.)
Step 2: Replace the Back Panel (Your Anti-Rack Backbone)
The cardboard or 1/8" panel on the back? That’s decorative, not structural. We’re replacing it with 1/2" plywood.
- Remove the existing back completely
- Cut plywood to exact outer dimensions
- Attach using wood glue + screws (not nails)
Why this matters: A rigid back panel turns your dresser into a box beam. That’s what stops racking.

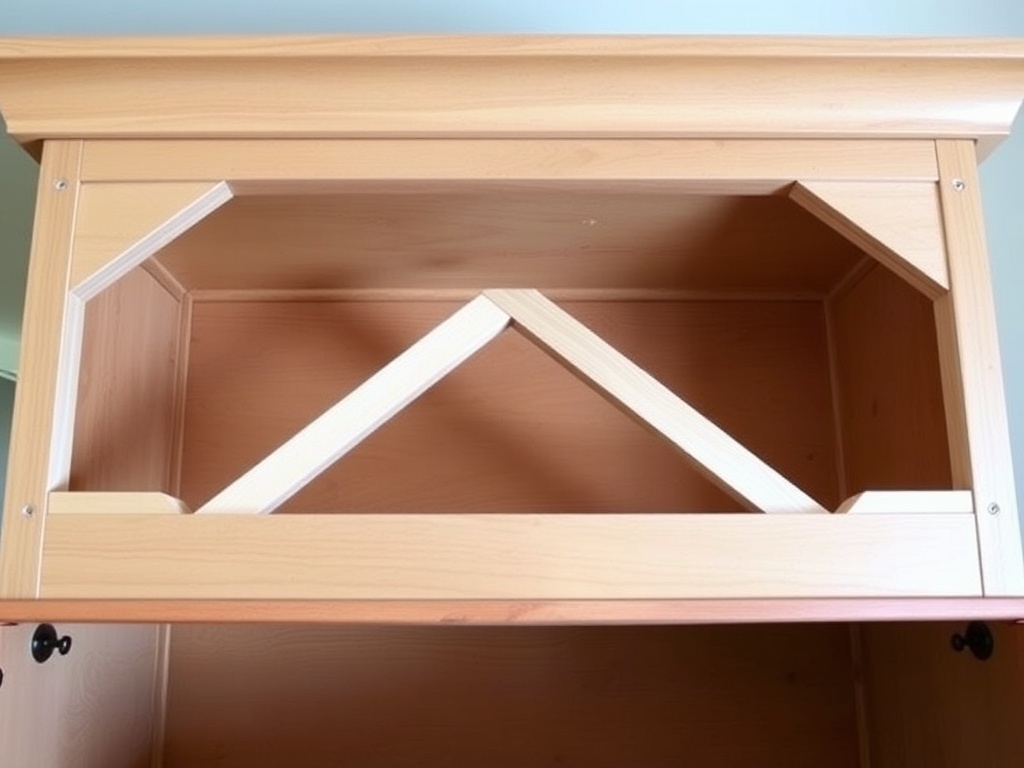
Step 3: Add Internal Bracing (The Hidden Skeleton)
This is where we upgrade from "furniture" to "structure."
- Add 1x2 supports along the inside corners
- Install horizontal braces under the top panel
- Secure everything with glue + screws
The Design Math: You’re reducing unsupported spans. Less span = less deflection. Less deflection = no sagging.
(Also, this is the step where you realize how little material was holding this thing together originally.)
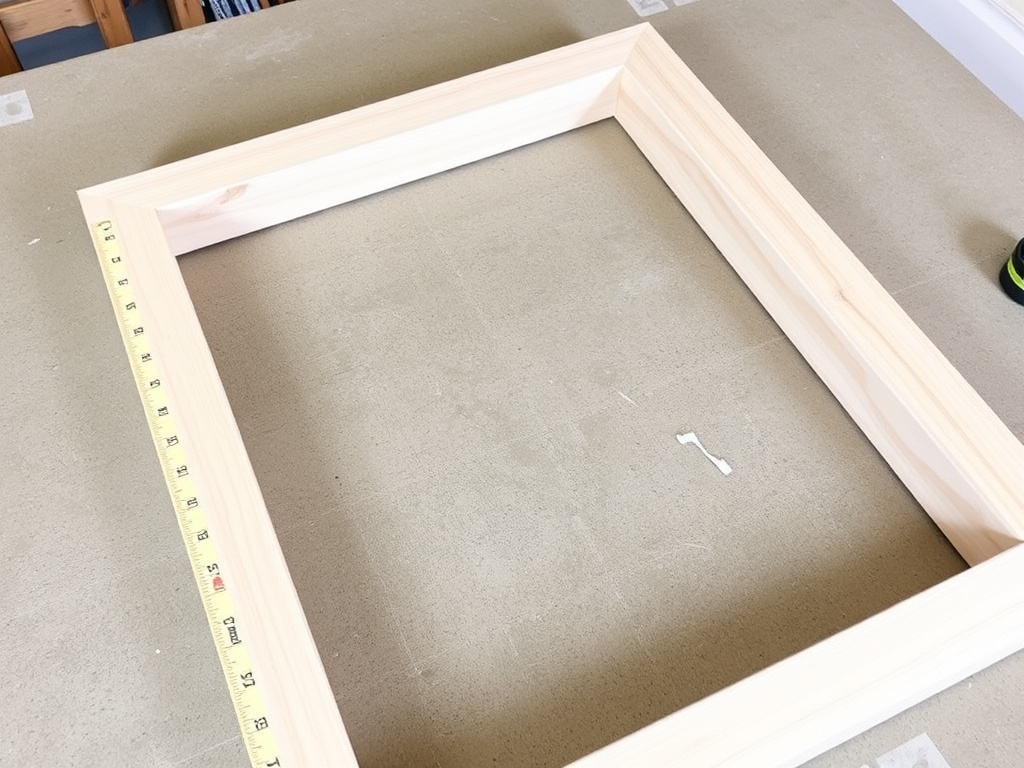
Step 4: Square the Frame (Fix the Geometry)
If your dresser isn’t square, nothing else will work right—not the drawers, not the top, not your sanity.
- Measure diagonals corner-to-corner
- Adjust until both measurements match
- Clamp in place before securing the back panel fully
This is basic geometry. Equal diagonals = square. Square = functional.
Step 5: Reinforce Drawer Boxes (Where Failure Actually Happens)
The drawers are usually worse than the frame.
- Add thin plywood bottoms if they’re sagging
- Reinforce corners with glue blocks
- Replace flimsy runners with solid wood guides if needed
Pro-ish Tip: Wax your drawer runners after install. It’s a $2 upgrade that feels like a $200 slide system.
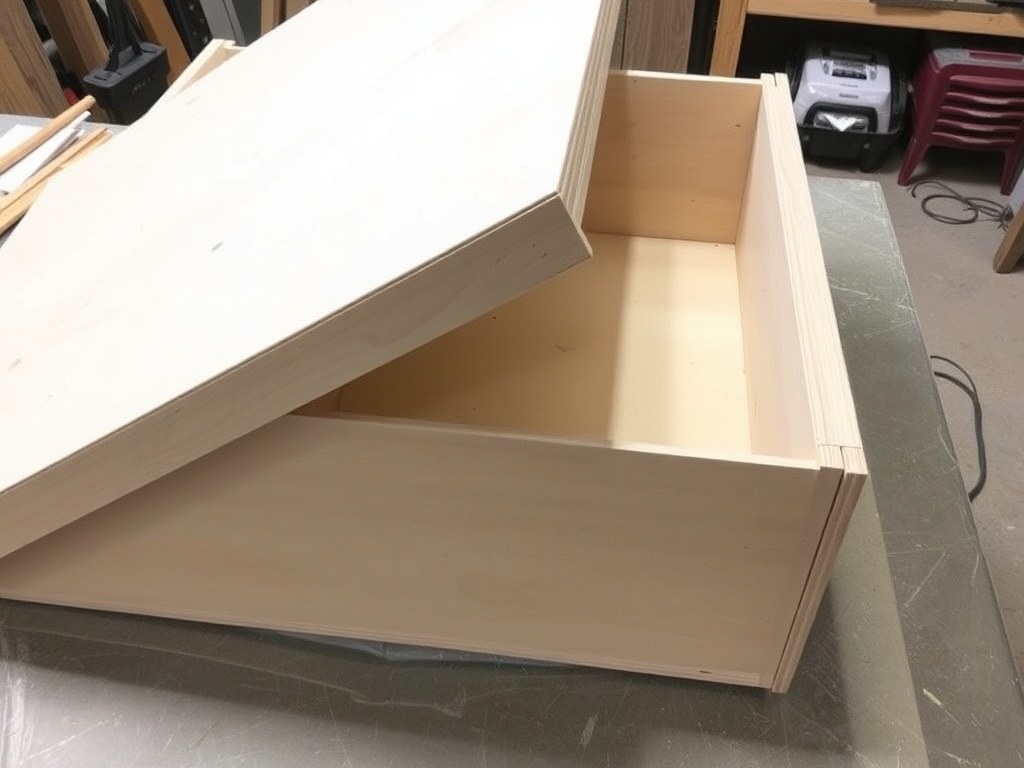
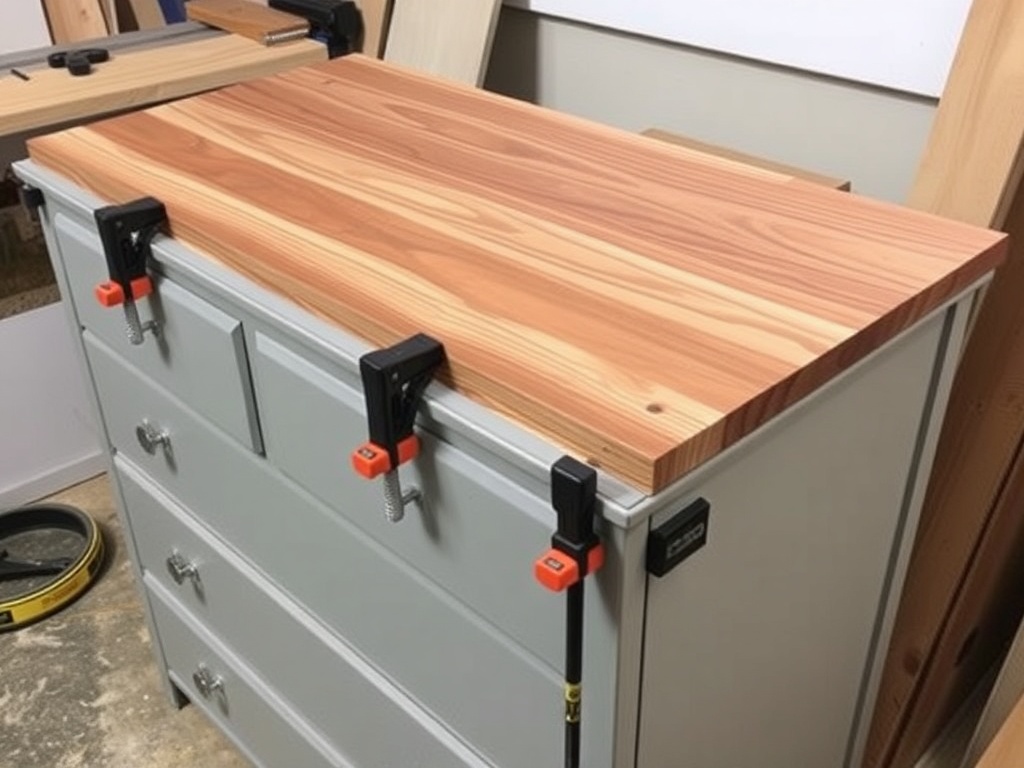
Step 6: Upgrade the Top Surface (Because Sag Is Inevitable Otherwise)
If the top panel is thin particle board, it will sag. It’s not a matter of if—it’s when.
- Laminate a 3/4" plywood sheet underneath OR
- Replace the top entirely with solid wood or plywood
Design Math: Doubling thickness increases stiffness exponentially. Thickness is strength.
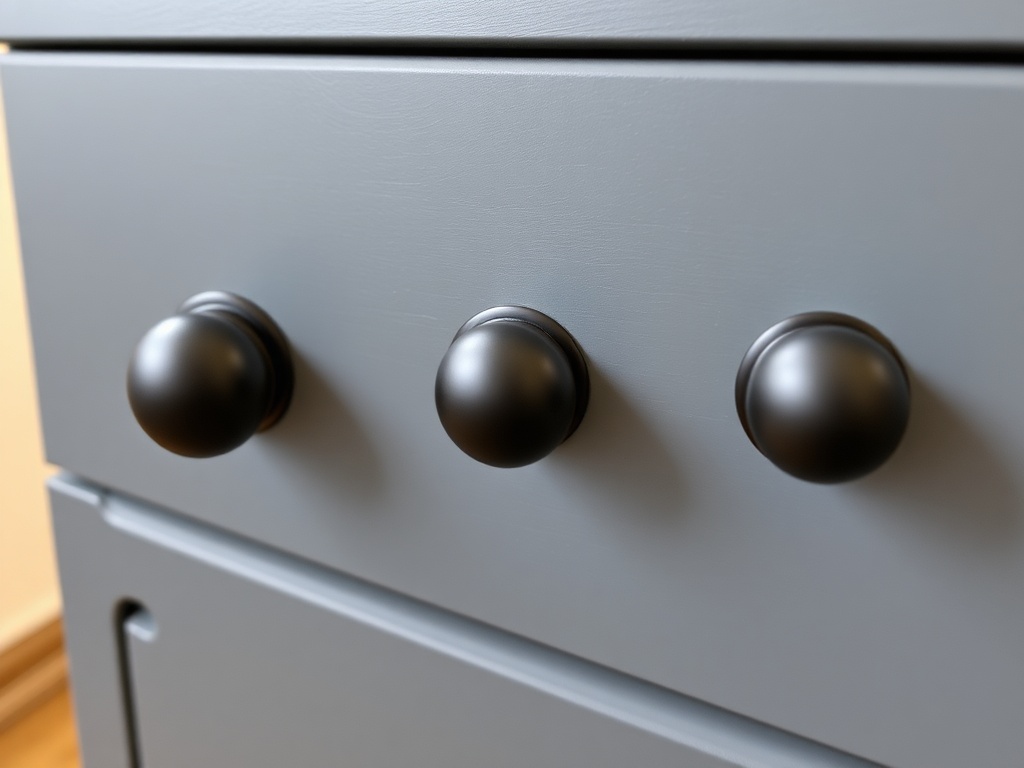
Step 7: Hardware Upgrade (The Small Thing That Fixes Everything)
Cheap hardware makes even a structurally sound piece feel flimsy.
- Swap to matte black pulls (yes, always)
- Ensure consistent spacing and alignment
- Use proper screws, not the mystery metal they shipped with
This is your 10% in the 60-30-10 rule—and it carries disproportionate visual weight.
Step 8: The Cost Ledger (Because We Don’t Lie About DIY)
Here’s what this actually costs—not the fantasy version.
- 1/2" plywood back: $28
- 1x2 support lumber: $18
- Wood glue: $6
- Screws: $9
- Sandpaper (you will use more than you think): $7
- Hardware upgrade: $22
Total True Cost: $90
(Plus one stripped screw, two bad cuts, and about 45 minutes of questioning your life choices.)
Mistakes Made (So You Don’t Repeat Them)
- I rushed the first back panel cut—off by 1/4". Had to redo it.
- Skipped pre-drilling once. Immediate regret. Split panel.
- Forgot to square before securing. Had to partially disassemble.
Mistakes are data. Use them.
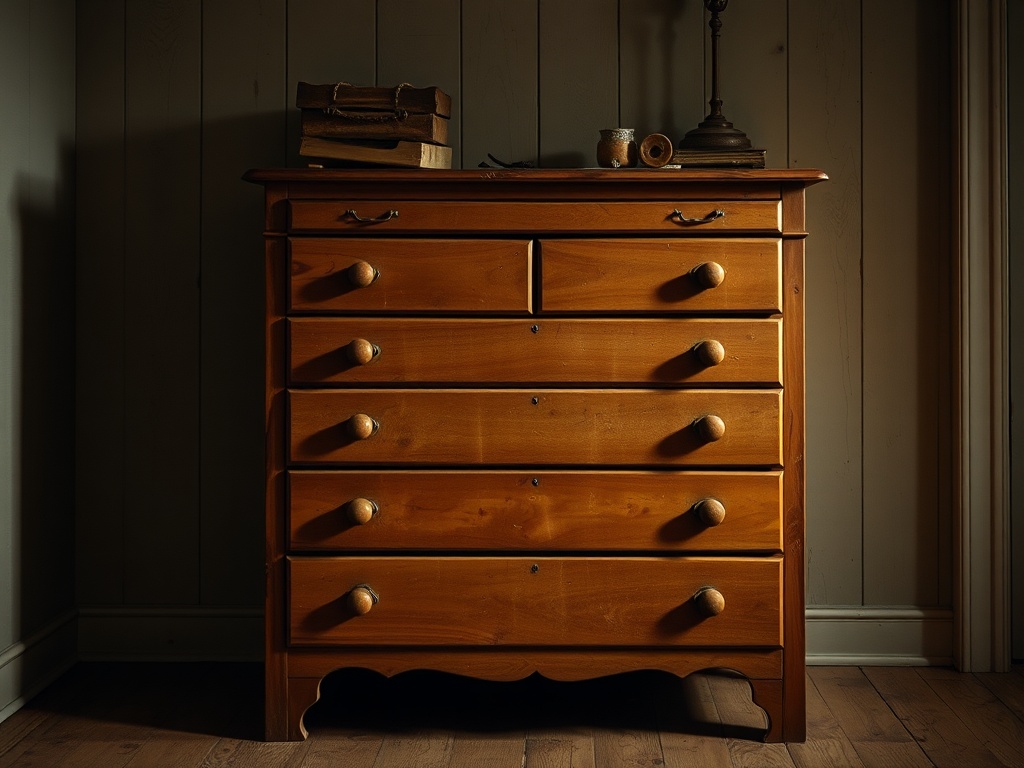
Final Result (And Why This Works)
You now have a dresser that:
- Doesn’t rack
- Supports real weight
- Opens smoothly
- Actually looks intentional
You didn’t just "fix" it—you rebuilt the structural logic behind it.
And that’s the shift. You stop seeing furniture as objects and start seeing systems.
Let’s get into the sawdust.
Steps
- 1
Diagnose structural failures
- 2
Replace the back panel
- 3
Add internal bracing
- 4
Square the frame
- 5
Reinforce drawer boxes
- 6
Upgrade the top surface
- 7
Upgrade hardware
- 8
Calculate cost ledger