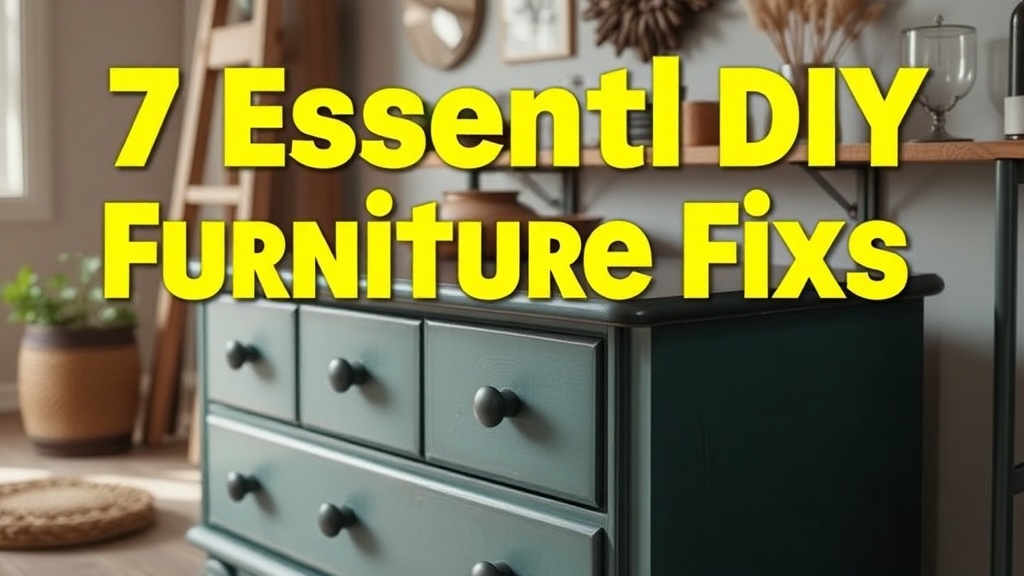
7 Essential DIY Furniture Fixes Every Homeowner Can Master

Reinforcing Wobbly Legs
Add diagonal braces and shims to stabilize wobbly furniture legs.
Fixing Sagging Shelves
Support shelves with cleats or brackets based on span and thickness.
Upgrading Old Hardware
Replace old knobs and pulls with matte black hardware for instant style.
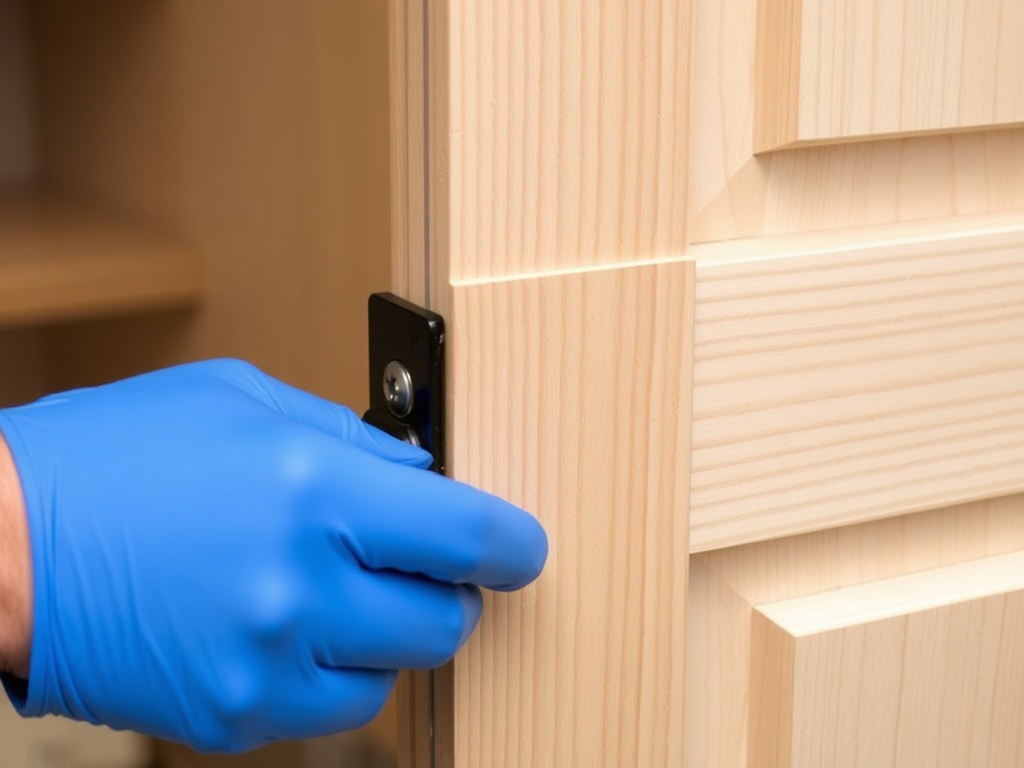
Correcting Misaligned Doors
Shim and adjust cabinet doors to achieve uniform gaps.
Filling Dents and Gouges
Use steam or epoxy to repair minor dents and deep gouges in wood.
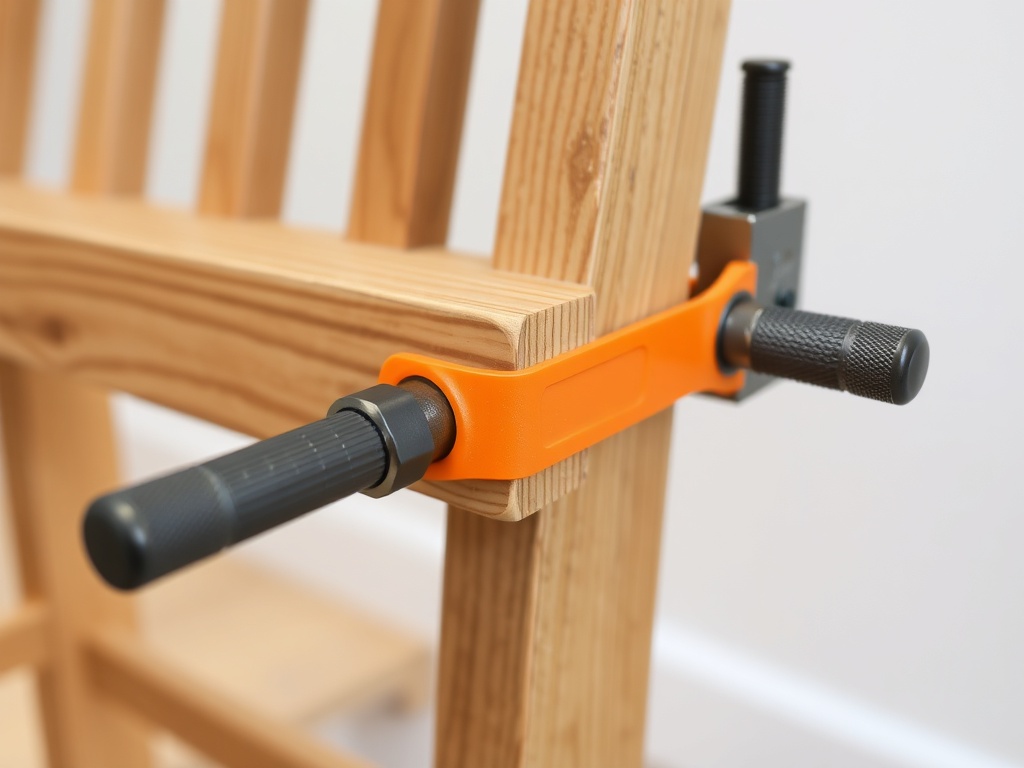
Stabilizing Loose Joints
Reglue, clamp, and reinforce loose joints for long-term stability.
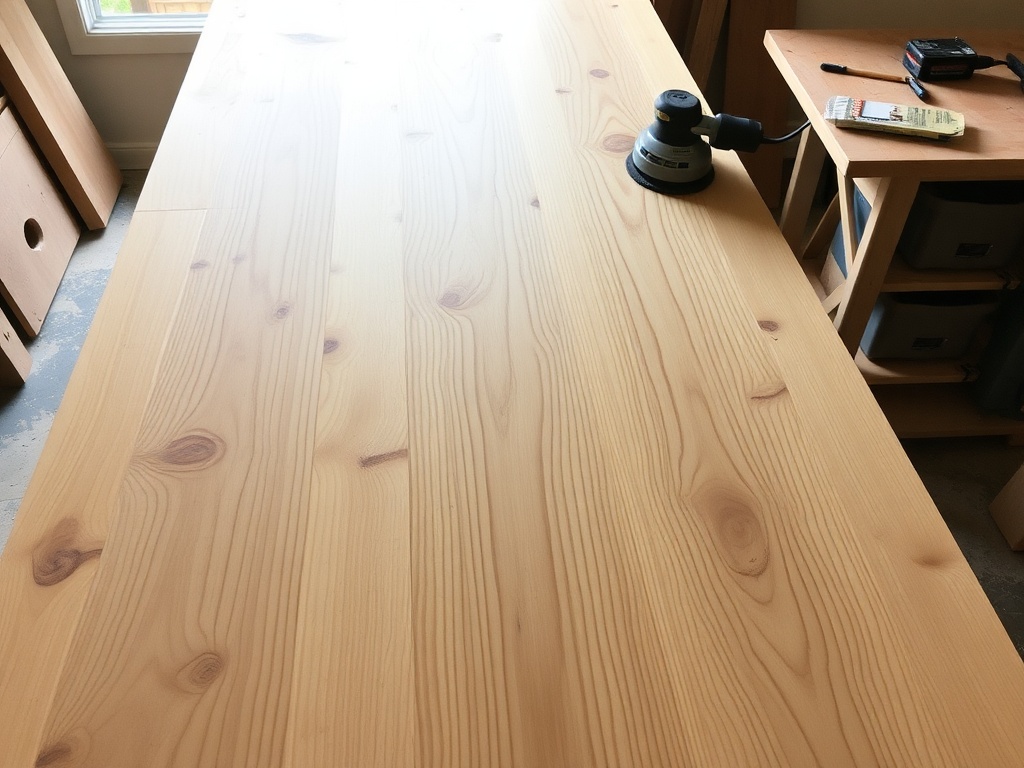
Finishing Touches That Last
Sand and apply protective oil or polyurethane in thin coats for durability.
Listen, don't be intimidated by the stack of sad furniture lurking in your living room. These 7 essential fixes will turn your "landlord special" pieces into structurally sound, designer-level items—all while keeping your budget under control. We'll cover joinery, hardware upgrades, structural reinforcements, and finishing touches. Let's get into the sawdust.
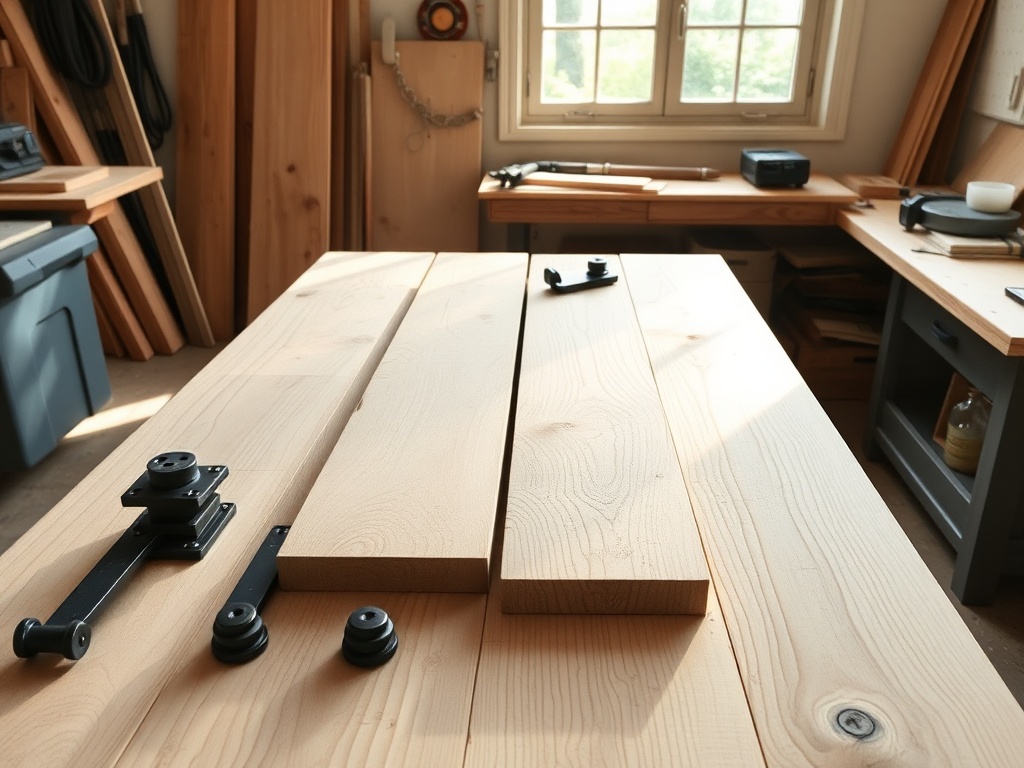
1. Reinforcing Wobbly Legs
Wobbly legs are the death knell of any table or chair. The Design Math here is simple: add a diagonal brace between legs to form a triangle—the most stable structure known to man. Cut a 1x2 White Oak shim to fit snugly, secure with wood glue and matte black screws, and your piece is instantly stabilized.
2. Fixing Sagging Shelves
Shelves sag because the span is too long or the material too thin. Solution: add a support ledger underneath or consider a mid-span bracket. The Design Math: width of the shelf divided by thickness should not exceed 20. For a 1" thick White Oak shelf, max span is 20" before reinforcement.

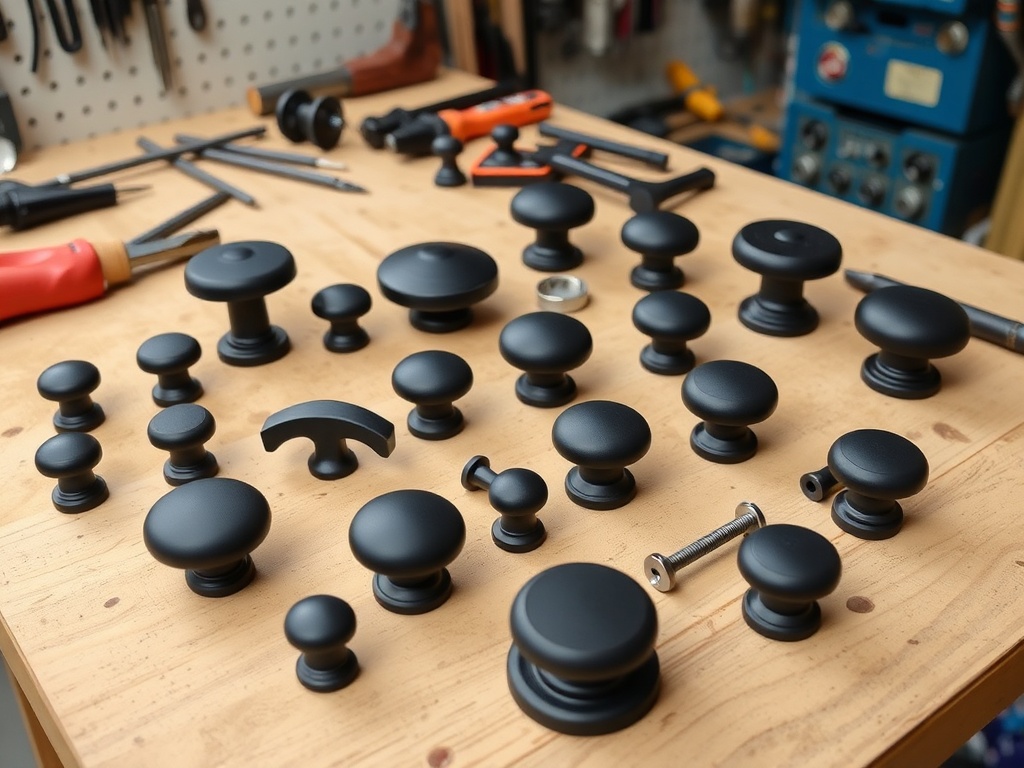
3. Upgrading Old Hardware
Old drawer pulls and cabinet knobs can make even solid furniture look cheap. Swap them for matte black hardware to instantly elevate aesthetic without touching the structure. Design Math: keep handles proportional to drawer width (1/3 the width is visually harmonious).
4. Correcting Misaligned Doors
Doors that scrape or hang unevenly are not just annoying—they stress the frame. Shim hinges with thin pieces of oak or cardboard to achieve perfect alignment. Measure gaps at top and bottom; a uniform reveal is the key.
5. Filling Dents and Gouges
White Oak takes a beating, but minor dents can be fixed with steam and a damp cloth: place the cloth over the dent, press with a hot iron, and watch the fibers swell back. Deep gouges? Use epoxy mixed to match the grain. Sand flush after curing.

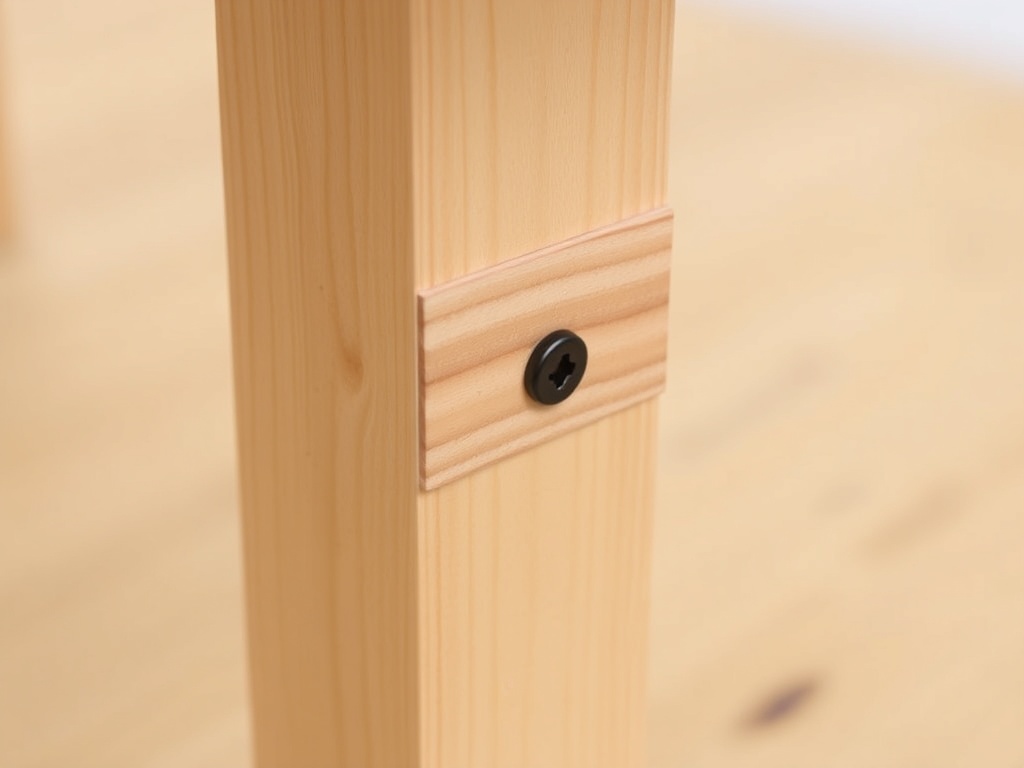
6. Stabilizing Loose Joints
Loose mortise and tenon or butt joints compromise structural integrity. Disassemble if possible, clean surfaces, reapply wood glue, and clamp for at least an hour. The Design Math: full surface contact equals maximum strength. Reinforce with screws or corner brackets if necessary.
7. Finishing Touches That Last
Finishing isn't fluff—it's protection. Sand with 150-grit to 220-grit progression, wipe clean, then apply a penetrating oil or matte polyurethane. Design Math: multiple thin coats outperform a single thick one every time.
With these 7 fixes, your furniture isn't just surviving—it's thriving. Remember, every screw, shim, and sanding disc counts in your Cost Ledger. Treat each piece like a mini-skyscraper and the results will reflect the effort.