2026 DIY Window Insulation Hacks: Quick Wins to Slash Your Energy Bills

Hook
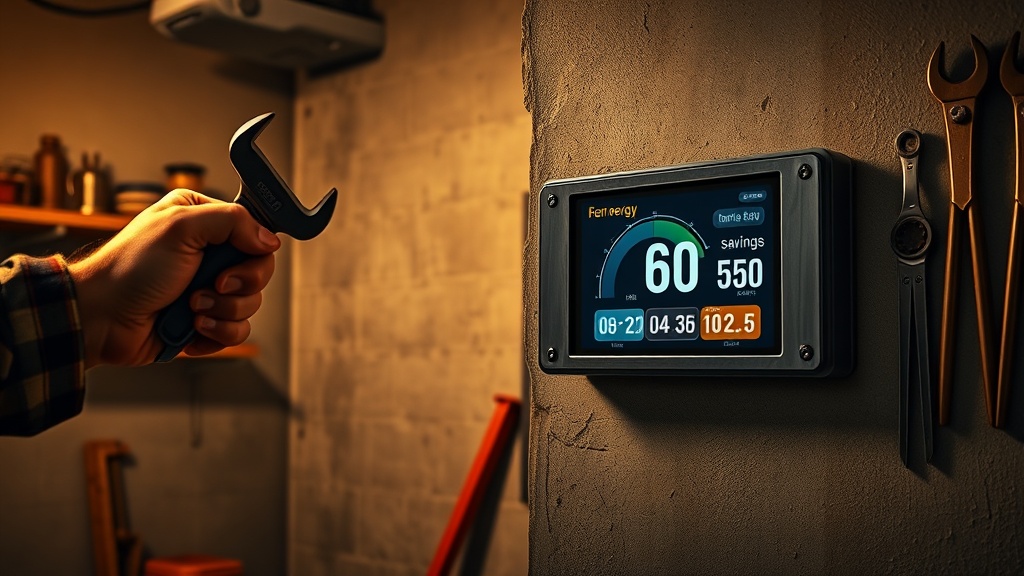
Ever stare at a frosty window in January and wonder why your heating bill looks like a mortgage payment? You’re not alone—energy‑wasting windows are the silent thieves of every homeowner’s budget.
Context
Last winter, the U.S. Department of Energy reported that windows account for up to 25% of residential heating loss (DOE Energy Saver). With the 2026 Home Energy Tax Credit already on the table, a few smart DIY tweaks can turn those leaks into savings.
What Are the Most Effective DIY Window Insulation Hacks?
1. Weatherstripping – The Instant Seal
Weatherstripping is the cheapest, fastest way to seal gaps around moving parts—sashes, hinges, and the frame. A basic foam tape from Home Depot runs $5‑$12 per door and can cut heat loss by 10‑15% (EPA ENERGY STAR). Install it by cleaning the surface, cutting to length, and pressing firmly. Pro tip: Use a high‑temperature silicone sealant on the bottom rail for extra durability.
2. Plastic Window Film – A Transparent Barrier
Clear plastic film creates an insulating air pocket that can reduce heat loss by 7‑12% (Energy.gov). It’s a weekend project: clean the glass, spray a mist of water‑soap solution, apply the film, and use a hair dryer to shrink it tight. The film costs $15‑$25 per window and lasts 3‑5 years.
3. Thermal Curtains – Dress Your Windows for Winter
Thermal curtains combine dense fabric with a backing that blocks drafts. Look for a g‑value under 0.30. While not as efficient as double‑glazing, they add 5‑8% insulation and double as décor. Expect to spend $30‑$60 per panel.
4. Insulated Window Inserts – DIY Double‑Pane Effect
Removable acrylic inserts snap into the window frame, creating a double‑pane effect. They’re pricier ($50‑$120 per window) but can rival the R‑value of low‑E glass. Install by measuring the opening, cutting the acrylic, and sealing with weather‑resistant tape. The ROI shows up in $150‑$250 annual savings for a typical 150‑sq‑ft window in a cold climate.
5. Draft Stoppers – The Low‑Tech Hero
A simple rolled‑up towel or a purpose‑made draft snake at the window sill blocks cold air infiltration. They’re essentially free, but a high‑quality fabric version costs $10‑$20 and can shave 2‑4% off heating costs.
How‑To Install Each Hack (Step‑by‑Step)
- Gather Materials – Foam tape, plastic film kit, thermal curtains, acrylic insert kit, draft‑stopper material.
- Prep the Window – Clean glass and frames with isopropyl alcohol; remove old seals.
- Apply Weatherstripping – Cut to length, peel backing, press onto sash edges; seal bottom rail with silicone.
- Install Plastic Film – Measure glass, cut film, mist surface, apply, and heat‑shrink with a hair dryer.
- Hang Thermal Curtains – Mount rods above the window, ensure curtains cover the entire opening and overlap the frame.
- Fit Insulated Inserts – Cut acrylic to opening dimensions, place inside frame, tape edges with weather‑resistant tape.
- Place Draft Stoppers – Slide fabric tube onto sill; secure with Velcro or tape.
How Do These Hacks Fit Into a Bigger Energy Strategy?
If you’ve already completed the DIY Home Energy Audit 2026 checklist, you’ll know where your biggest losses lie. Pair these window hacks with the 2026 Home Energy Tax Credit (up to $3,200 for qualified improvements) and you’ll see a double‑dip of savings—lower bills now and a tax break later.
Quick Cost‑Benefit Snapshot
| Hack | Approx. Cost | Estimated Savings/Yr | Payback Period |
|---|---|---|---|
| Weatherstripping | $10‑$20 | $30‑$60 | 3‑6 months |
| Plastic Film | $20‑$30 | $40‑$70 | 6‑9 months |
| Thermal Curtains | $30‑$60 | $25‑$45 | 1‑2 years |
| Insulated Inserts | $80‑$120 | $150‑$250 | < 1 year |
| Draft Stoppers | $0‑$20 | $10‑$20 | Immediate |
Bottom Line
You don’t need a full window replacement to start saving. Pick the hack that matches your budget and skill level, install it this weekend, and watch your thermostat settle at a lower setting. Then, claim the Home Energy Tax Credit on your 2026 return—every dollar saved on the bill is a dollar you can deduct.
Takeaway: Start with weatherstripping (under $20, instant impact), add plastic film for a deeper seal, and consider insulated inserts if you’re chasing that extra $200‑$250 in annual savings.
Frequently Asked Questions
{ "meta": { "faqs": [ {"question": "Do I need a professional to install window film?", "answer": "No. The film is a DIY product—just clean, apply, and shrink with a hair dryer for a tight seal."}, {"question": "Can I claim window insulation upgrades on the 2026 Home Energy Tax Credit?", "answer": "Yes, if the product meets ENERGY STAR criteria and you keep receipts for the credit claim."}, {"question": "What’s the best material for a draft stopper?", "answer": "A fabric‑filled tube with a washable cover works best; it’s cheap and can be customized to fit any sill width."} ] } }
Internal Links
- DIY Home Energy Audit 2026: A Step‑by‑Step Checklist to Maximize Savings
- 2026 Home Energy Tax Credit Guide: Save Up to $3,200
- Smart Home Doesn’t Mean Dumb Decisions: The Architect’s Guide to Tech That Actually Lasts
Tags: energy efficiency, window insulation, DIY, home improvement, savings
Steps
- 1
Gather Materials
Foam tape, plastic film kit, thermal curtains, acrylic insert kit, draft‑stopper material.
- 2
Prep the Window
Clean glass and frames with isopropyl alcohol; remove old seals.
- 3
Apply Weatherstripping
Cut to length, peel backing, press onto sash edges; seal bottom rail with silicone.
- 4
Install Plastic Film
Measure glass, cut film, mist surface, apply, and heat‑shrink with a hair dryer.
- 5
Hang Thermal Curtains
Mount rods above the window, ensure curtains cover the entire opening and overlap the frame.
- 6
Fit Insulated Inserts
Cut acrylic to opening dimensions, place inside frame, tape edges with weather‑resistant tape.
- 7
Place Draft Stoppers
Slide fabric tube onto sill; secure with Velcro or tape.